What Tools Do Professional LVP Installers Use?
The real toolkit pros bring to an LVP install — moisture meters, plank cutters, tapping blocks, undercut saws — and why each one matters for a floor that lasts.
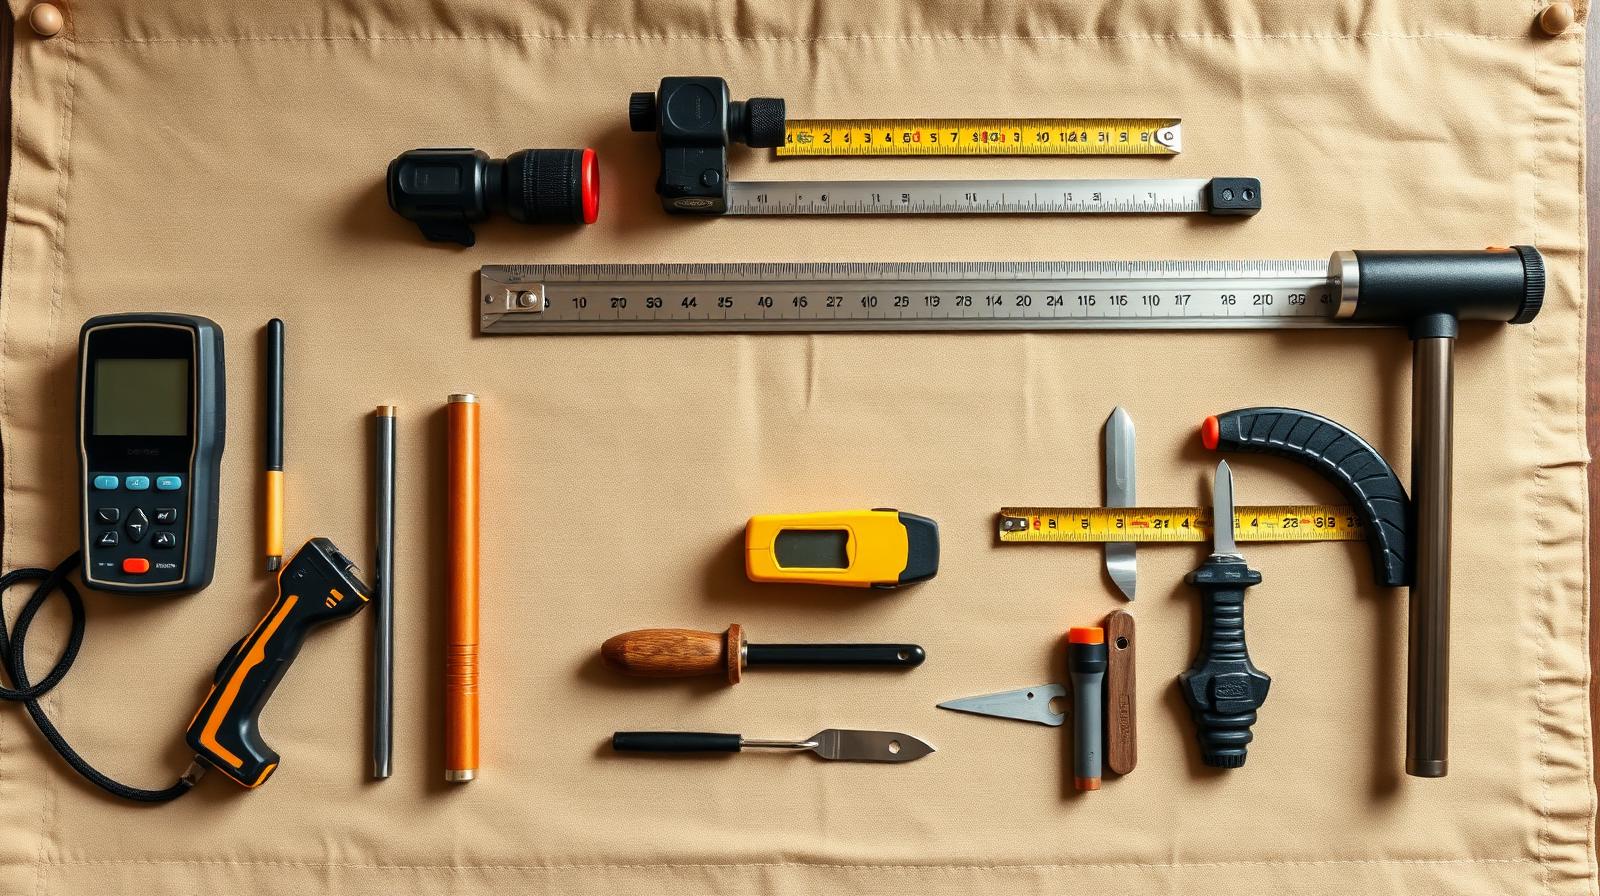
Professional LVP installers carry 15 to 25 specialized tools to every job — from moisture meters and laser levels to pull bars and undercut saws. The difference between a clean professional install and a frustrating DIY attempt often isn't skill alone; it's having the right tool, properly calibrated, for every subtask. A working pro crew typically arrives with $3,000–$8,000 in tool investment on the truck. Here's what's in the kit, why each item matters, and what it would cost you to buy the same gear yourself.
Measuring & inspection tools (the prep phase)
Before a single plank is cut, a professional installer is reading the room with instruments — not eyeballing it. This is the phase where most DIY installs go wrong, because the problems are invisible until the floor is already down.
- Moisture meter (pinless and pin-type). Concrete slabs and wood subfloors hold moisture you can't feel. Too much, and LVP adhesive fails or mold develops under the planks. Pros take readings in multiple spots and log them. Why subfloor prep matters for LVP →
- Digital hygrometer. Reads ambient temperature and relative humidity to confirm the room is within the manufacturer's acclimation window — usually 65–85°F and 30–60% RH.
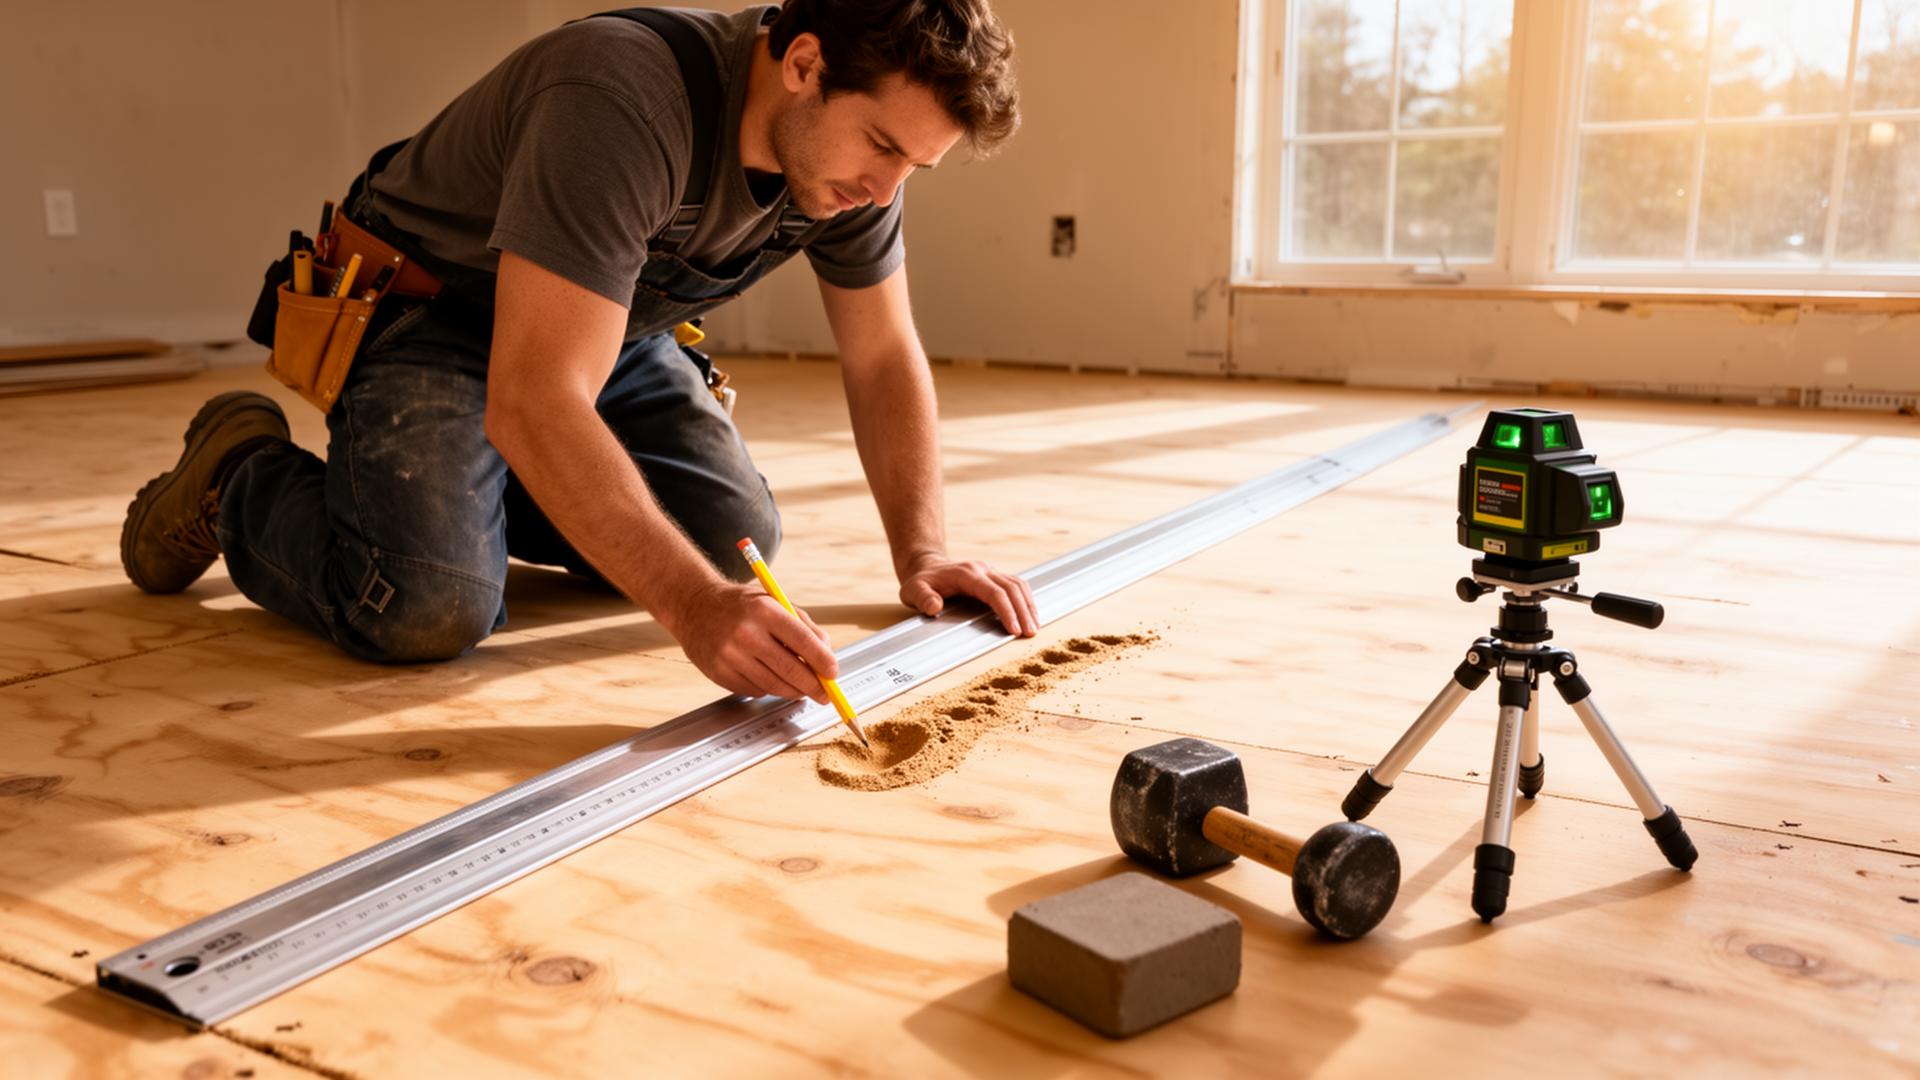
- Laser distance measurer. A handheld laser gets accurate square footage in minutes, including alcoves and angled walls a tape measure misses.
- Laser level + 6-foot straightedge. Used together to find dips and humps in the subfloor. Most LVP manufacturers require flatness within 3/16" over 10 feet. Anything outside that spec means prep work — not "we'll see how it lays."
- Self-leveling compound mixing tools. When the straightedge finds problems, a real crew fixes them on the spot with leveling compound, a margin trowel, and a paddle mixer. How to know if your subfloor is ready →
Cutting & shaping tools (the precision phase)
LVP is forgiving until you cut it badly. Every visible edge — door frames, transitions, the last row against a wall — is a cut, and chipped or crooked cuts are what make a floor look amateur. Pros use multiple cutting tools because no single tool handles every situation cleanly.
- Vinyl/LVP plank cutter (guillotine/shear). The professional standard for crosscuts. No power, no dust, no blade cost, and a clean shear edge in under a second per cut. This is the workhorse for 80% of the cuts on a job.
- Miter saw with fine-tooth (80+ tooth) blade. For angle cuts, stair nosing, and any cut where edge cleanliness matters. The blade is what makes the difference — a 24-tooth framing blade will tear LVP apart.
- Jigsaw with down-cut blade. For irregular cuts around door jambs, floor vents, and toilet flanges. Down-cut blades cut on the down stroke so they don't chip the visible top surface of the plank.
- Table saw or track saw. For long rip cuts when the final row needs to be a custom width — almost always the case in a real room.
- Undercut saw / jamb saw. Trims the bottom of door jambs and casing so planks slide cleanly underneath. This is the detail that separates a professional install from one with quarter-round caulked everywhere.

Installation & layout tools (the fitting phase)
Once planks are cut, the work is about seating them correctly without damaging the locking mechanism or the visible surface. This is where the right small tools earn their keep.
- Tapping block and pull bar. Click-lock LVP only engages cleanly when force is distributed evenly across the plank edge. A bare rubber mallet crushes the locking lip; a tapping block protects it. The pull bar is for the last row, where you can't swing a hammer.
- Wedge spacers (1/4" to 3/8"). Maintain the expansion gap around walls, cabinets, and door jambs. Pro wedge spacers stay put as the floor moves during install; plastic shims slide out and create gaps.
- Dead-blow rubber mallet. A weighted, non-rebounding mallet that seats planks without bouncing or denting. Different from a hardware-store rubber mallet — the dead-blow design transfers full energy in a single strike.
- 100-lb vinyl roller (for glue-down). Ensures full adhesive contact across the entire plank, eliminating hollow spots that telegraph as soft areas underfoot. Click-lock vs glue-down LVP →
- Floor scraper / power scraper. For removing old adhesive, residue, or remnants of previous flooring before the new install starts.
Specialty tools for complex areas
Every job has at least one tricky spot — stairs, a curved column, a transition between rooms with different floor heights. Pros carry specialty tools so they don't improvise these visible details.
- Contour gauge / tread template. Transfers irregular shapes (stair nosing profiles, ornate baseboards, fireplace hearths) directly onto planks for precise cuts. Can LVP be installed on stairs? →
- Heat gun. Warms rigid-core SPC planks enough to bend slightly around curved walls or columns without cracking.
- Transition strip shear. Cuts metal and vinyl transition profiles square and clean — no hacksaw burrs that snag socks.
- Cordless oscillating multi-tool. Flush cuts in tight spots no saw can reach, like under existing cabinet toe-kicks or around radiator pipes.
Why tool quality translates to install quality (and cost)
Homeowners sometimes ask why two installers can quote the same job at very different prices. Tooling is part of the answer.
- An $80 hardware-store miter saw with a 24-tooth blade leaves visible chip-out on every angled cut. A $600 setup with a fine-tooth blade leaves edges so clean you can run your finger along them.
- A calibrated moisture meter that flags a wet slab before install saves a $2,000 tear-up later. A $20 unverified meter on Amazon does not.
- Dust-free shear cutting means no airborne PVC dust in your kitchen and no chips under planks creating bumps later.
- A pro crew replaces saw blades and calibrates meters on a schedule. Most homeowners doing one room don't.
This is also why flat-rate project pricing makes sense for installers carrying real equipment — the tools, blades, and consumables are a real per-job cost, not just labor. Why some installers price by square foot and others by project →
DIYers: what you'd actually spend on tools
If you're weighing a DIY install against hiring a pro, here's an honest breakdown for a typical 500–800 sf single-room job:
- Minimum viable kit (buy): tape measure, utility knife with hook blades, basic vinyl cutter, tapping block, pull bar, spacers, rubber mallet, jigsaw. About $250–$450.
- Tools you'll wish you had: moisture meter ($60–$200), laser level ($80–$200), 6-foot straightedge ($60), fine-tooth miter saw ($200–$600), undercut saw ($90). Another $500–$1,200.
- Rentable items: floor scraper, wet/dry vac. Reasonable per-day cost.
- What you can't easily rent: precision cutting tools and calibrated meters. Sharing-economy tool rental doesn't cover these.
Total realistic DIY tool spend: $400–$1,200 — for tools you may use once. That's before the cost of fixing visible cut chip-out or a failed moisture reading down the road. What's actually included in a professional install →
Want to compare DIY tool spend against a pro install for your exact space? Get an itemized estimate in 60 seconds using our published rates — or book a measurement and we'll come measure for you.
Bottom line
The tools a professional LVP installer brings to your home are a real, working investment — not props. They exist because LVP rewards precision and punishes shortcuts. When you hire a pro, you're paying for the moisture meter that catches the wet slab, the fine-tooth blade that leaves no chip-out, and the dead-blow mallet that seats planks without crushing the lock. That's what stands between a floor that looks great in five years and a floor with gaps, lifts, and hollow spots by next summer. See how installers keep LVP planks level →
Know your flooring cost in 60 seconds.
Use our published rates to get an itemized estimate — no phone calls, no sales pressure.
Keep reading
All articles →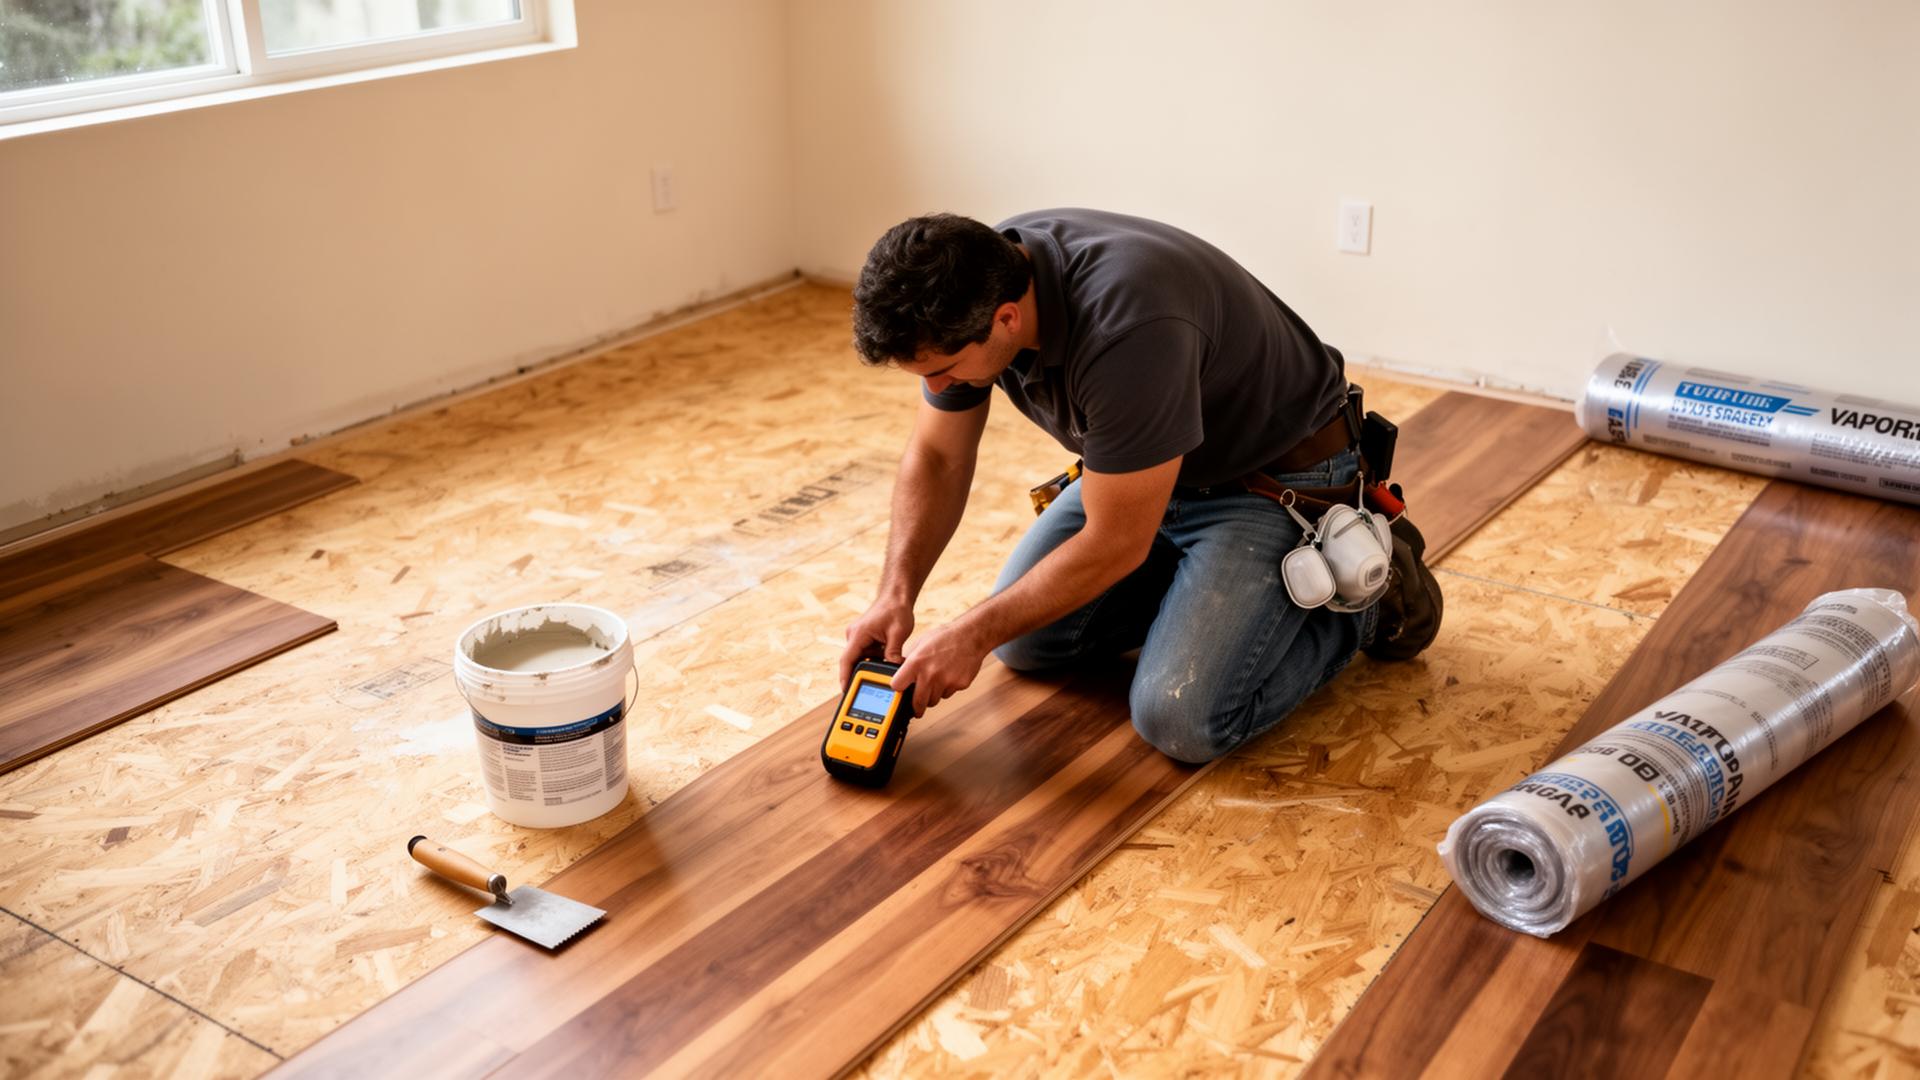
Why Is Subfloor Preparation So Important for LVP?
Skipping subfloor prep is the #1 reason LVP fails early. Here are the 5 failure modes — telegraphing, peaking, hollow spots, moisture damage, voided warranty — and the real cost of skipping it.
How Do Professional Installers Ensure LVP Planks Are Level?
The industry flatness tolerance for LVP, the tools pros use to find high and low spots, and the leveling techniques (grinding, patching, self-levelers) that keep your floor dead flat.
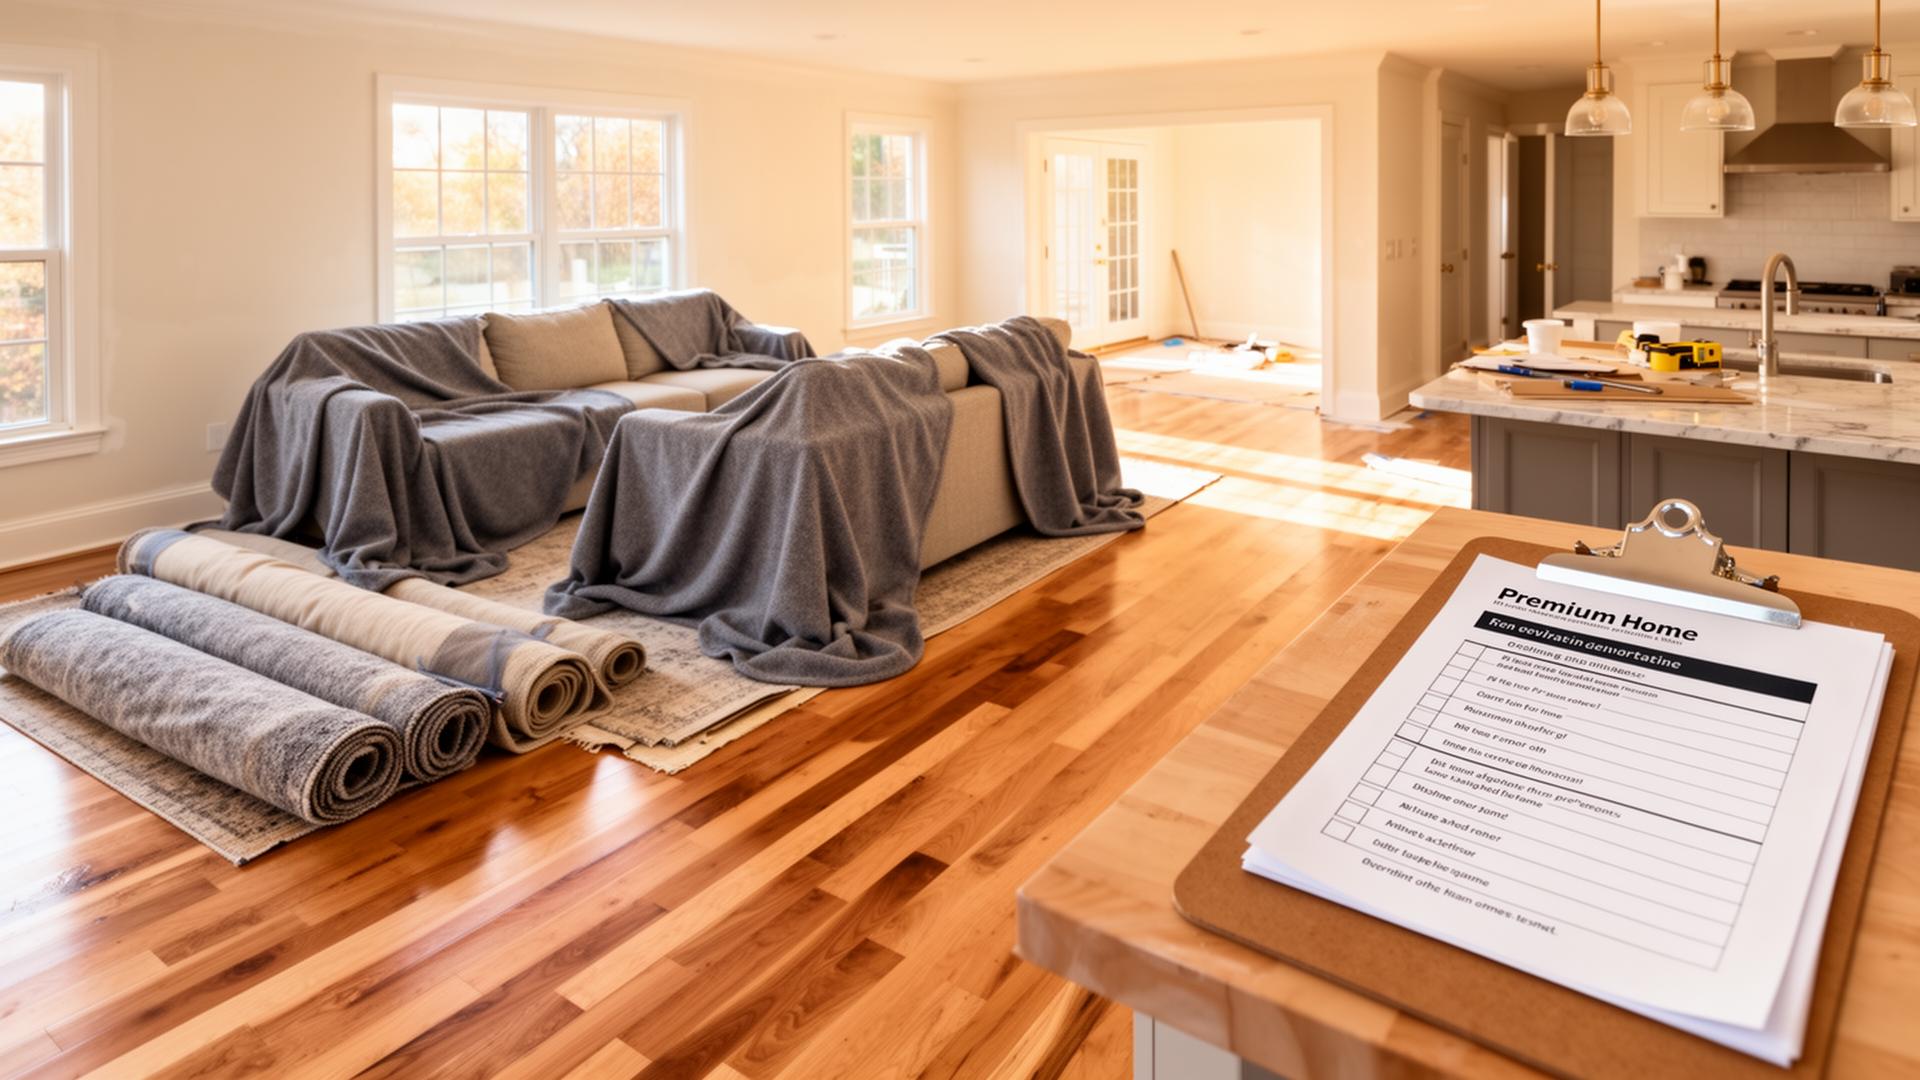
What Preparation Do I Need to Do Before Flooring Installation?
A homeowner's checklist for the week, day, and morning before flooring installation — furniture, appliances, pets, and what the crew will handle vs. what you should.