How Do Professional Installers Ensure LVP Planks Are Level?
The industry flatness tolerance for LVP, the tools pros use to find high and low spots, and the leveling techniques (grinding, patching, self-levelers) that keep your floor dead flat.
Short answer: pros target the industry standard of 3/16 inch deviation over a 10-foot span (or 1/8" over 6 feet) — and the word that matters is flat, not level. A floor can slope across a whole room and your LVP will install perfectly. A floor that''s wavy or bumpy over a few feet will telegraph every imperfection through the planks, flex the click joints, and cause peaking and seam failure within a year. Flat is non-negotiable. Level is cosmetic.
Flat vs level — and why LVP only cares about one
The two words sound interchangeable. They''re not.
- Level is the slope from one point to another across the room — does a marble roll? Old homes are almost never truly level. LVP doesn''t care.
- Flat is local deviation — humps, dips, and waves within a small area. LVP cares enormously.
The reason is structural. LVP is a floating system: the planks aren''t glued or nailed to the subfloor (most of the time), they span across it. A 1/4" hump under the middle of an 8" wide plank means the click joints on either side carry that height difference. Every footstep flexes the joint. Within months the seams open, the edges peak, and the click locks chip from the inside out. Shaw, COREtec, Mohawk, and Mannington all spec the same ~3/16" over 10 ft tolerance for exactly this reason. See is my subfloor ready for LVP for the homeowner-side version of this check.
The tools pros actually use
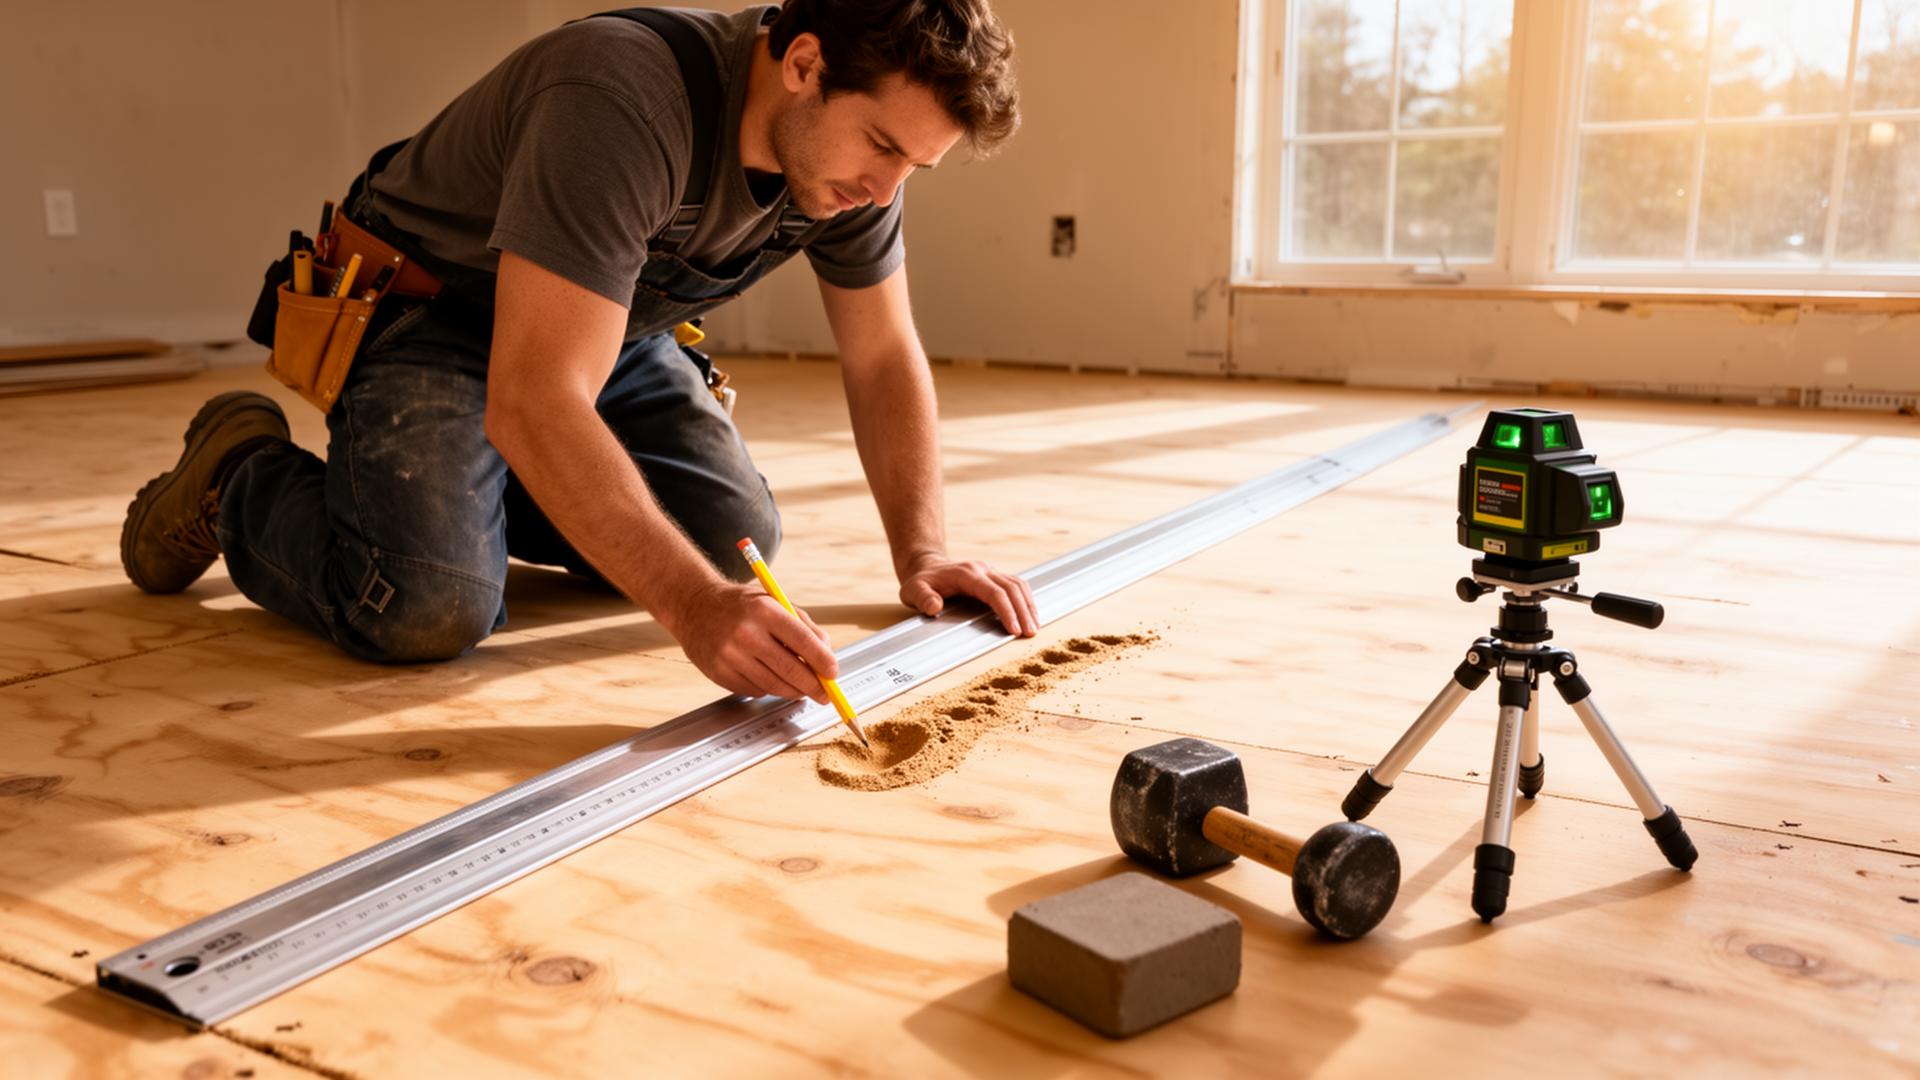
- 6-foot and 10-foot aluminum straightedges. The primary tool. Laid across the subfloor in a grid pattern; any gap of more than ~3/16" under the bar gets circled with a marker. The 10-footer catches broad waves the shorter one misses.
- Laser line level or rotary laser. Projects a flat plane across the room so deviations show as varying gaps to the line. Best for large open floor plans where straightedges become awkward.
- Self-leveling water in a long clear tube (old-school but dead accurate): water finds level in both ends. Used to check true level across a whole house from a fixed reference like a stairwell.
- Laser distance meters (Bosch GLM, Leica Disto): floor-to-ceiling measurements at multiple points confirm slope over distance.
- Chalk and markers in two colors. Highs get one color, lows the other. The result is a flatness map of the room — a treasure map of where to grind and where to patch.
The 4-foot torpedo level beloved by weekend DIYers is too short to catch broad subfloor waves — pros only use it for transitions and small areas like closets.
Three correction techniques — and when to pick each
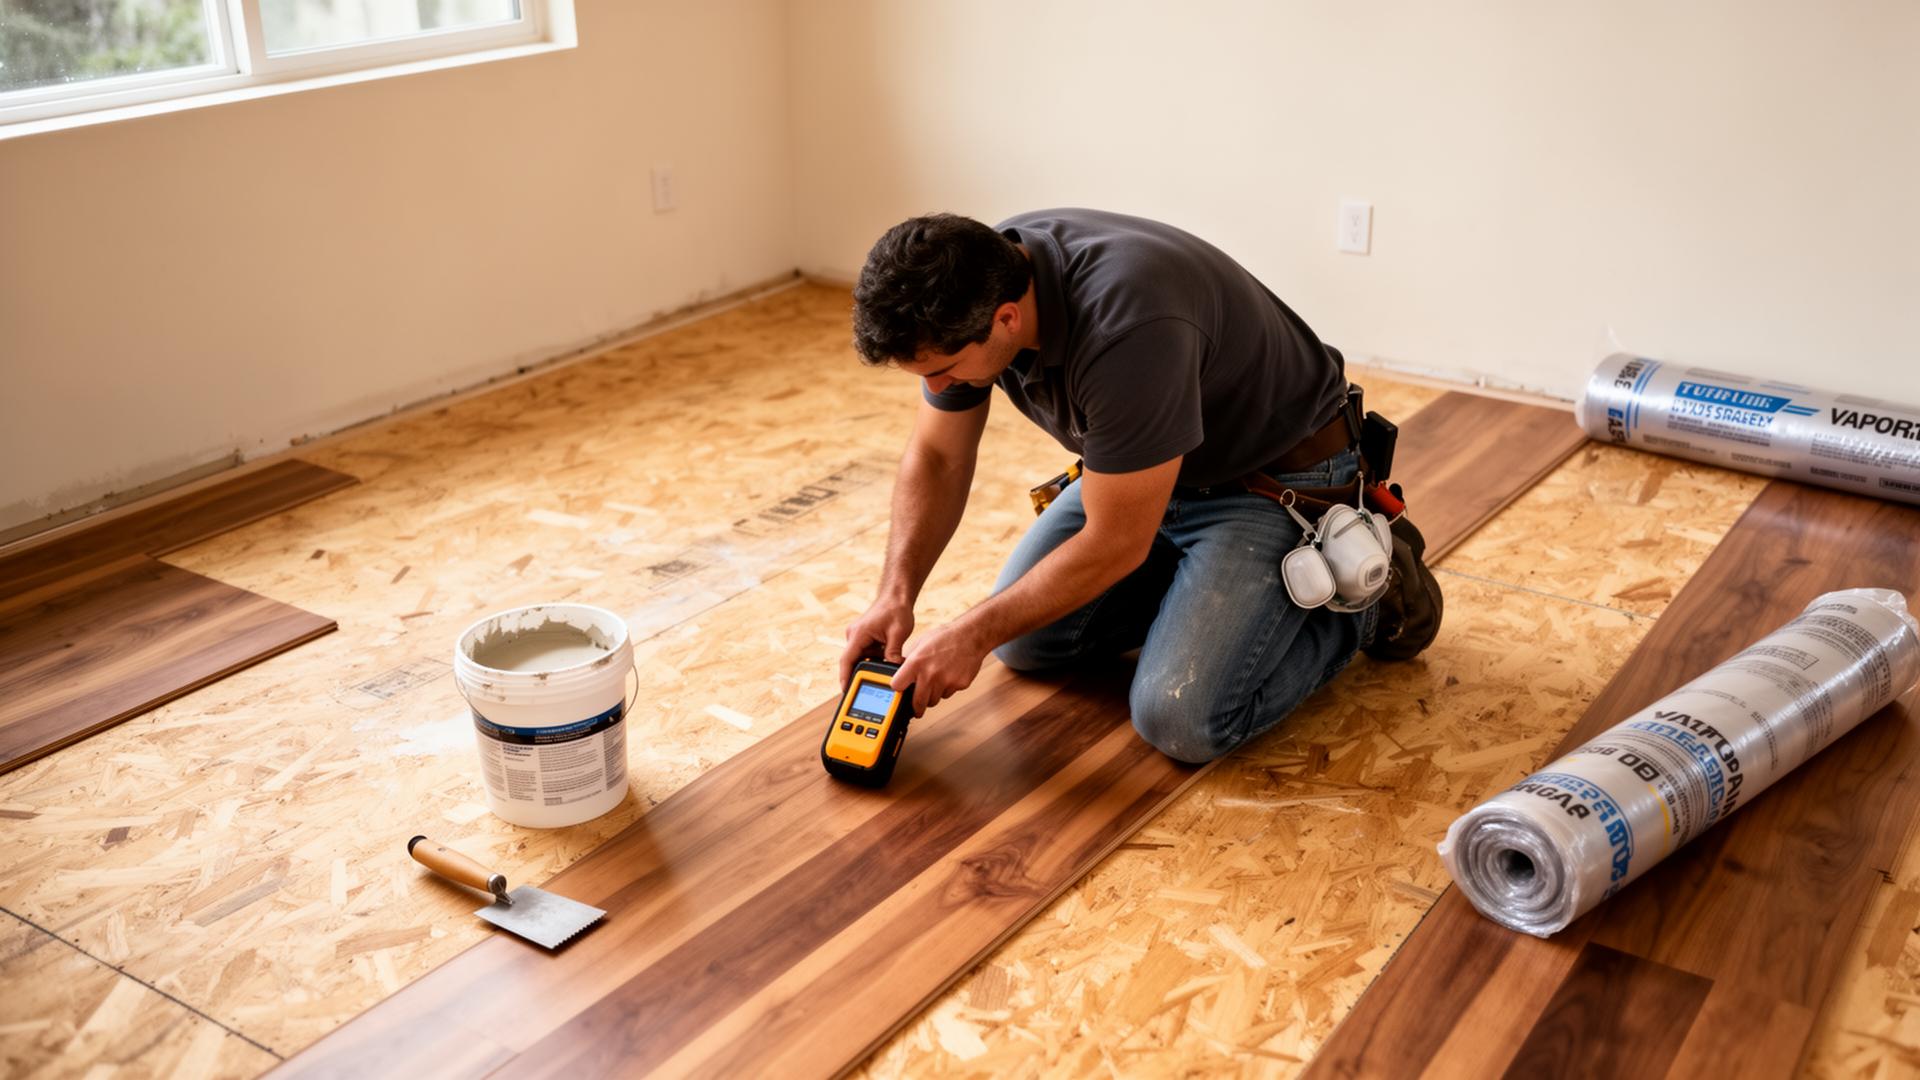
- Grinding down high spots. For concrete slabs with localized humps or trowel ridges. A handheld concrete grinder with a diamond cup wheel takes 1/8"–1/4" off in minutes. Dust extraction is mandatory; this is the loudest, dustiest step of any install. Best for: concrete slabs with sharp local high points.
- Patching with cementitious floor patch. For plywood and OSB subfloors, or for small low spots on concrete under 1/4" deep. Trowel-applied, feathers to zero at the edges, sets in 30–60 minutes, sandable when cured. Best for: small dips, divots, gouges, and missing chunks.
- Self-leveling underlayment (SLU). For whole-room corrections, badly out-of-flat slabs, or any low spot deeper than ~1/4". Mixed with water in a 5-gallon bucket, poured in a controlled pattern, and self-levels in 10–20 minutes. Requires priming the substrate first and damming room edges with foam. Adds about $1.50–$3.00 per square foot to the project. Best for: rooms with widespread flatness issues or deep low spots.
See how to prepare a subfloor for LVP for the full prep workflow these tie into.
Install-time habits that keep planks flat
Flatness isn''t just a subfloor problem. The installer can blow a flat subfloor with sloppy install habits, and a great installer can save a marginal one. The habits pros use every install:
- Tapping block + dead-blow mallet — never a metal hammer directly on the plank. A bare hammer strike blows out the click edge, and the next plank in that row rocks.
- End joints staggered at least 8" in a brick pattern. Aligned end joints concentrate flex and telegraph through the floor.
- First three rows snapped together off-floor and placed as a unit. Guarantees a perfectly straight start row — and every row above it references off that one.
- 1/4" expansion gap at every wall and vertical obstruction. Without it, seasonal expansion peaks the floor like a folded napkin in summer.
- Hand-feel every plank after seating. Running flat palms across each new seam catches a high edge before the next row goes down on top of it — at which point it''s permanent.
- Final walk in stocking feet. Pros walk every room before transitions go in, feeling for soft spots or rocking planks through their socks. Better than any tool for catching that one missed dip.
What "telegraphing" looks like — the cost of skipping flatness
If flatness is skipped, you''ll know within a year. Every subfloor seam visible as a faint ridge through the LVP. A line running down the room where two OSB sheets meet. A dimple over a forgotten nail head. A long, shallow wave across a wide bay window where the joists deflected over time. None of it can be fixed without pulling the floor. All of it is preventable in two hours of prep with a straightedge and a bag of patch compound. See common LVP installation mistakes for the rest of the avoidable failures.
How TRU Installation handles flatness
Every TRU LVP install begins with a straightedge flatness check across every room during the on-site measurement, before a quote is written. The prep line item in your quote reflects what we actually measured — not a guess, not "subfloor prep as needed" billed at the end. The result: predictable price, dead-flat floor, no telegraphing.
Build a self-serve estimate on our pricing page, or book an on-site measurement and we''ll bring the 10-foot bar with us.
Know your flooring cost in 60 seconds.
Use our published rates to get an itemized estimate — no phone calls, no sales pressure.
Keep reading
All articles →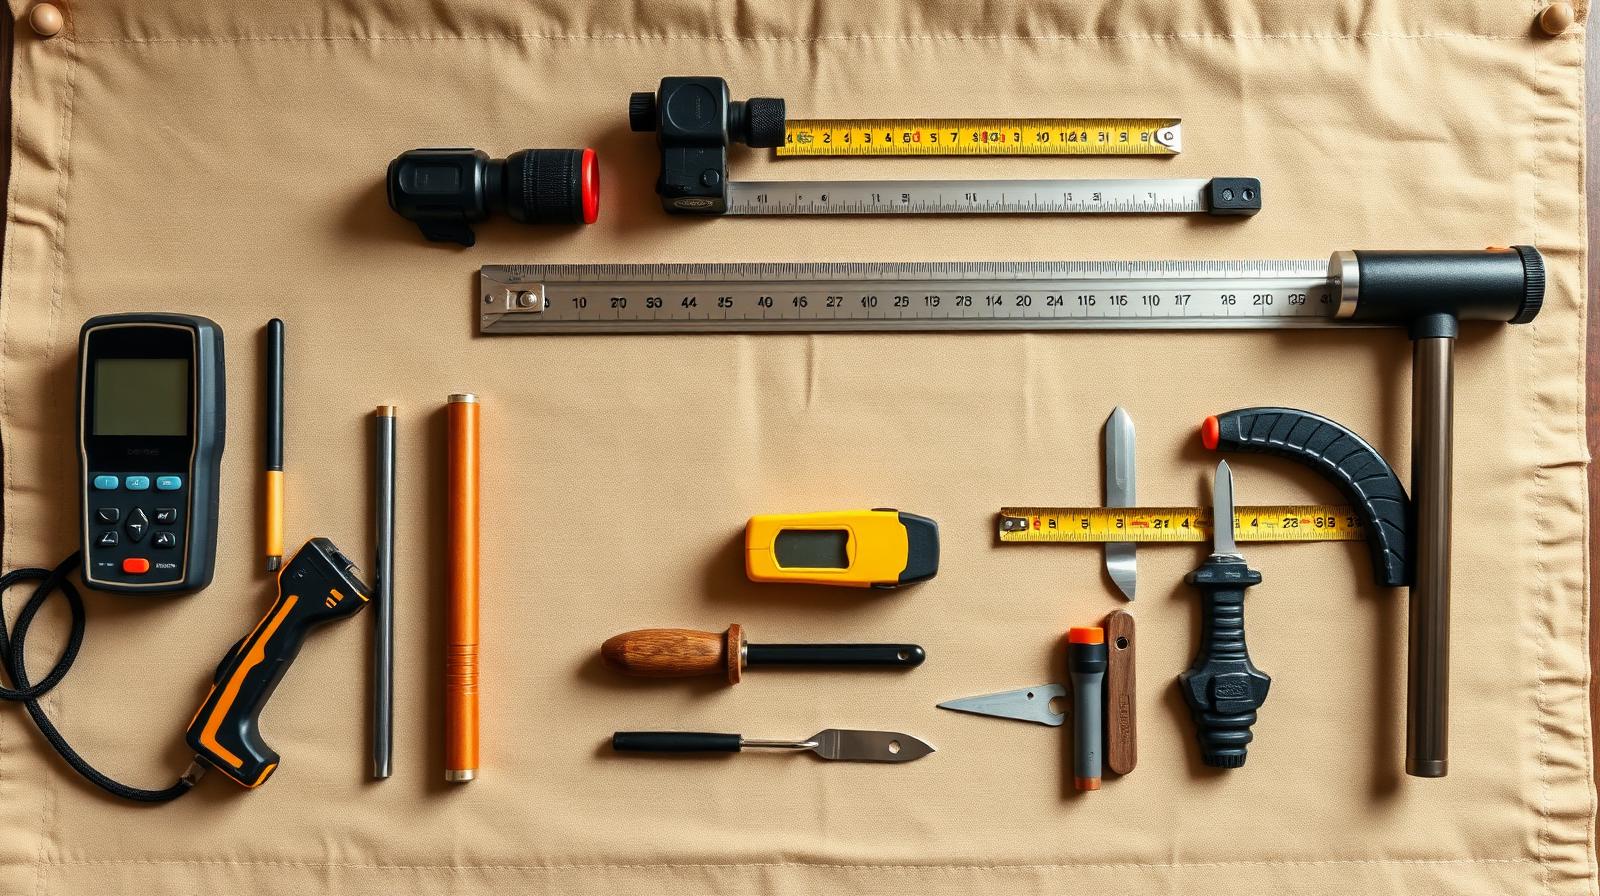
What Tools Do Professional LVP Installers Use?
The real toolkit pros bring to an LVP install — moisture meters, plank cutters, tapping blocks, undercut saws — and why each one matters for a floor that lasts.
Why Is Subfloor Preparation So Important for LVP?
Skipping subfloor prep is the #1 reason LVP fails early. Here are the 5 failure modes — telegraphing, peaking, hollow spots, moisture damage, voided warranty — and the real cost of skipping it.
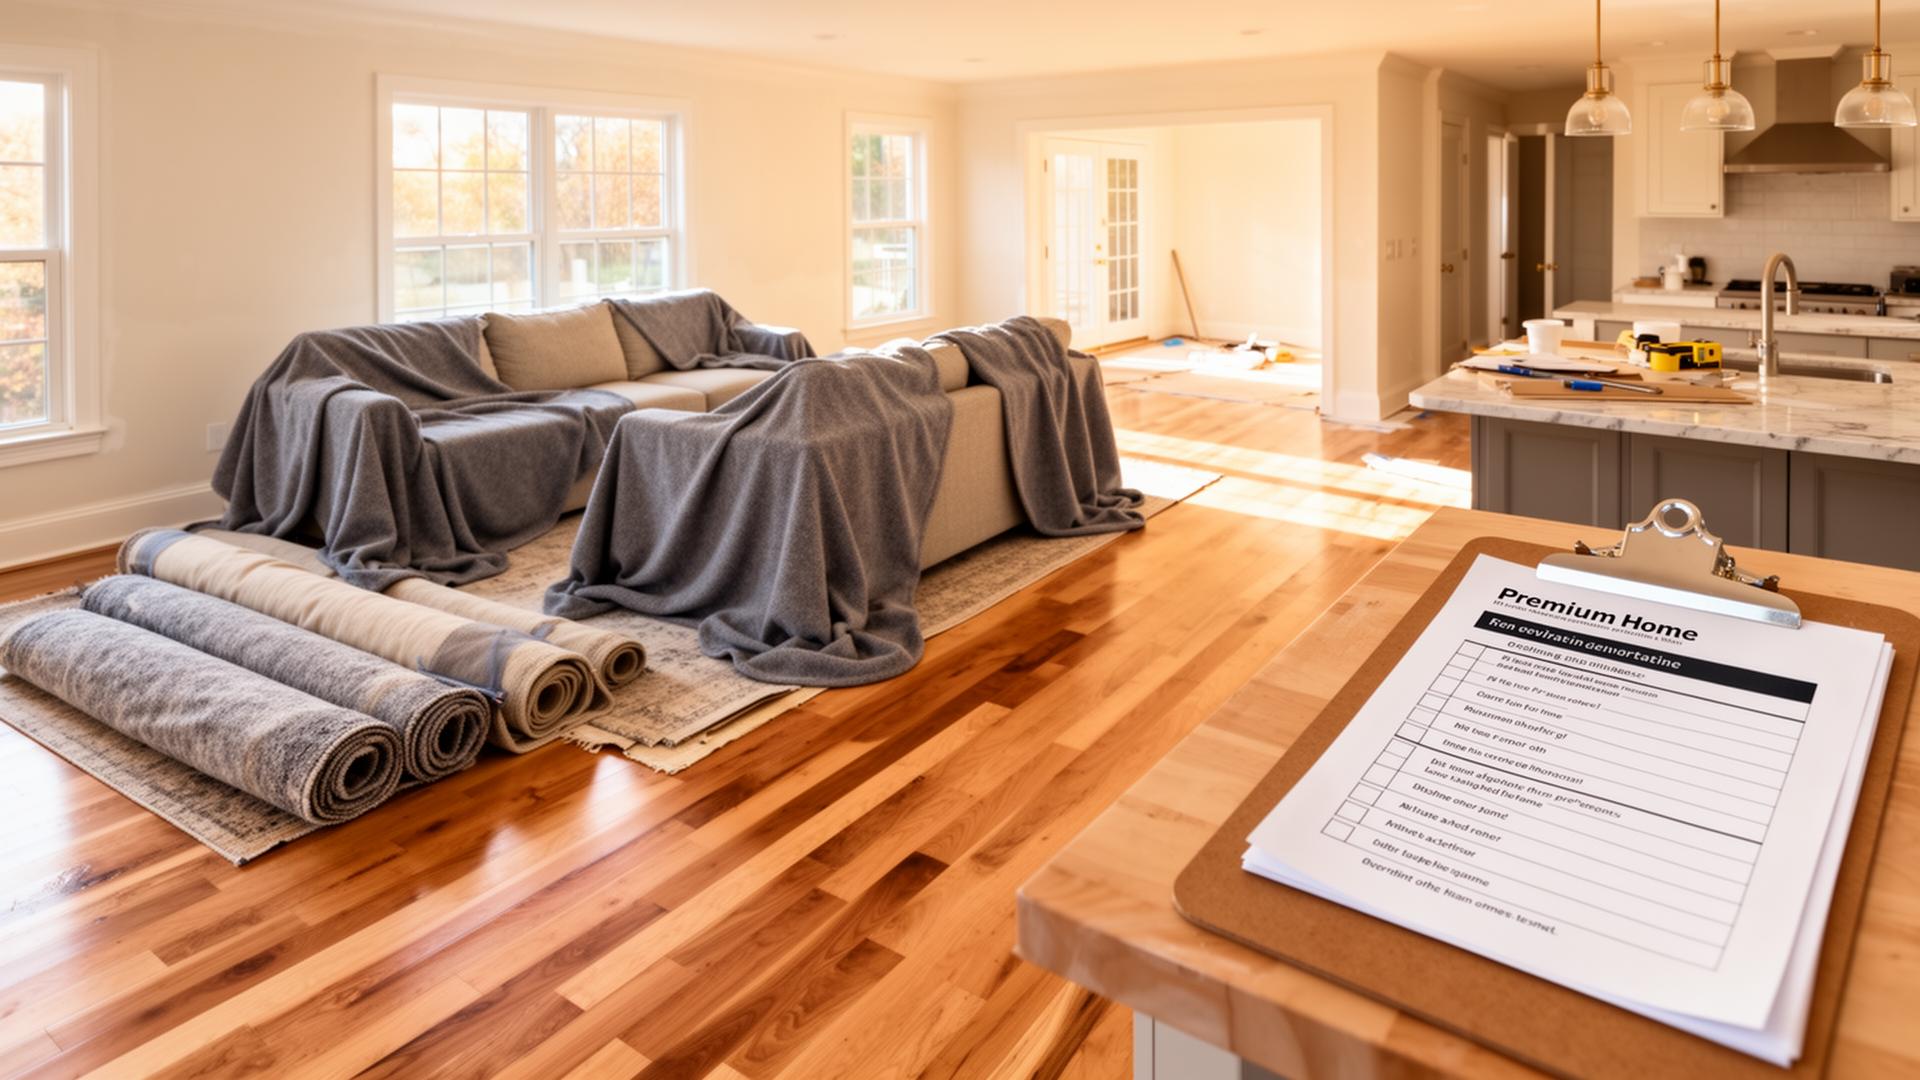
What Preparation Do I Need to Do Before Flooring Installation?
A homeowner's checklist for the week, day, and morning before flooring installation — furniture, appliances, pets, and what the crew will handle vs. what you should.