What Should I Know Before Installing LVP Flooring? 10 Things Homeowners Wish They'd Known
Before you buy a single plank, here are the 10 things every homeowner should know about LVP — wear layer, acclimation, subfloor flatness, transitions, warranty fine print, and the mistakes that cost the most.
Short answer: Before installing LVP, you need to understand 10 things: the wear layer mil rating, the core type (SPC vs WPC vs flexible), your subfloor condition, room conditions, acclimation rules, expansion gaps, transitions and trim, warranty fine print, the true installed cost, and whether your specific project is a DIY or a pro job. Get these right and your floor will last 20+ years. Get any one wrong and you may be replacing it in five.
LVP is the most popular flooring in the US right now — and for good reason. It is waterproof, durable, affordable, and looks like real wood. But it is also where homeowners make the most regret-it-later decisions. This guide walks through every one, before you spend a dollar.
The 10 things to know before you install LVP
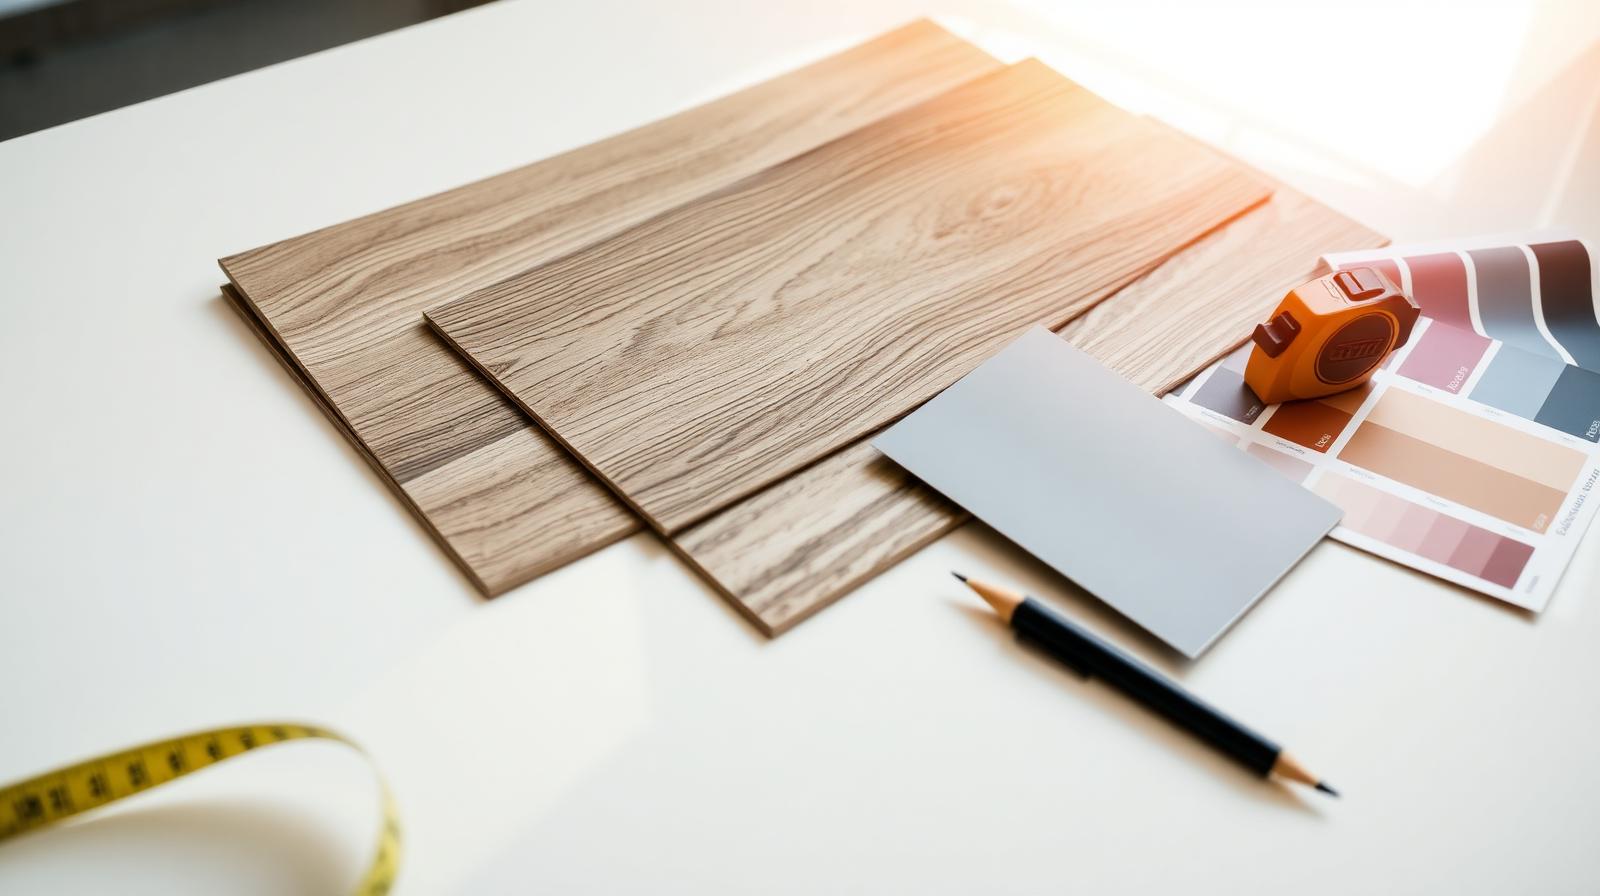
1. The wear layer mil rating determines how long the floor lasts
The "wear layer" is the clear urethane coating on top of the plank. It is measured in mils (thousandths of an inch) — not millimeters. This single number predicts how long the floor will look new:
- 6 mil: Low-traffic only (closets, guest bedrooms). Avoid for main living areas.
- 12 mil: Residential standard. Good for most homes without pets.
- 20–22 mil: Pets, kids, high-traffic homes. The right choice for kitchens, entries, and family rooms.
- 28+ mil: Commercial-grade. Overkill for most homes.
Do not confuse overall plank thickness (4–8 mm) with wear layer (mils). A thick plank with a thin wear layer wears out fast. The wear layer is what you are really paying for.
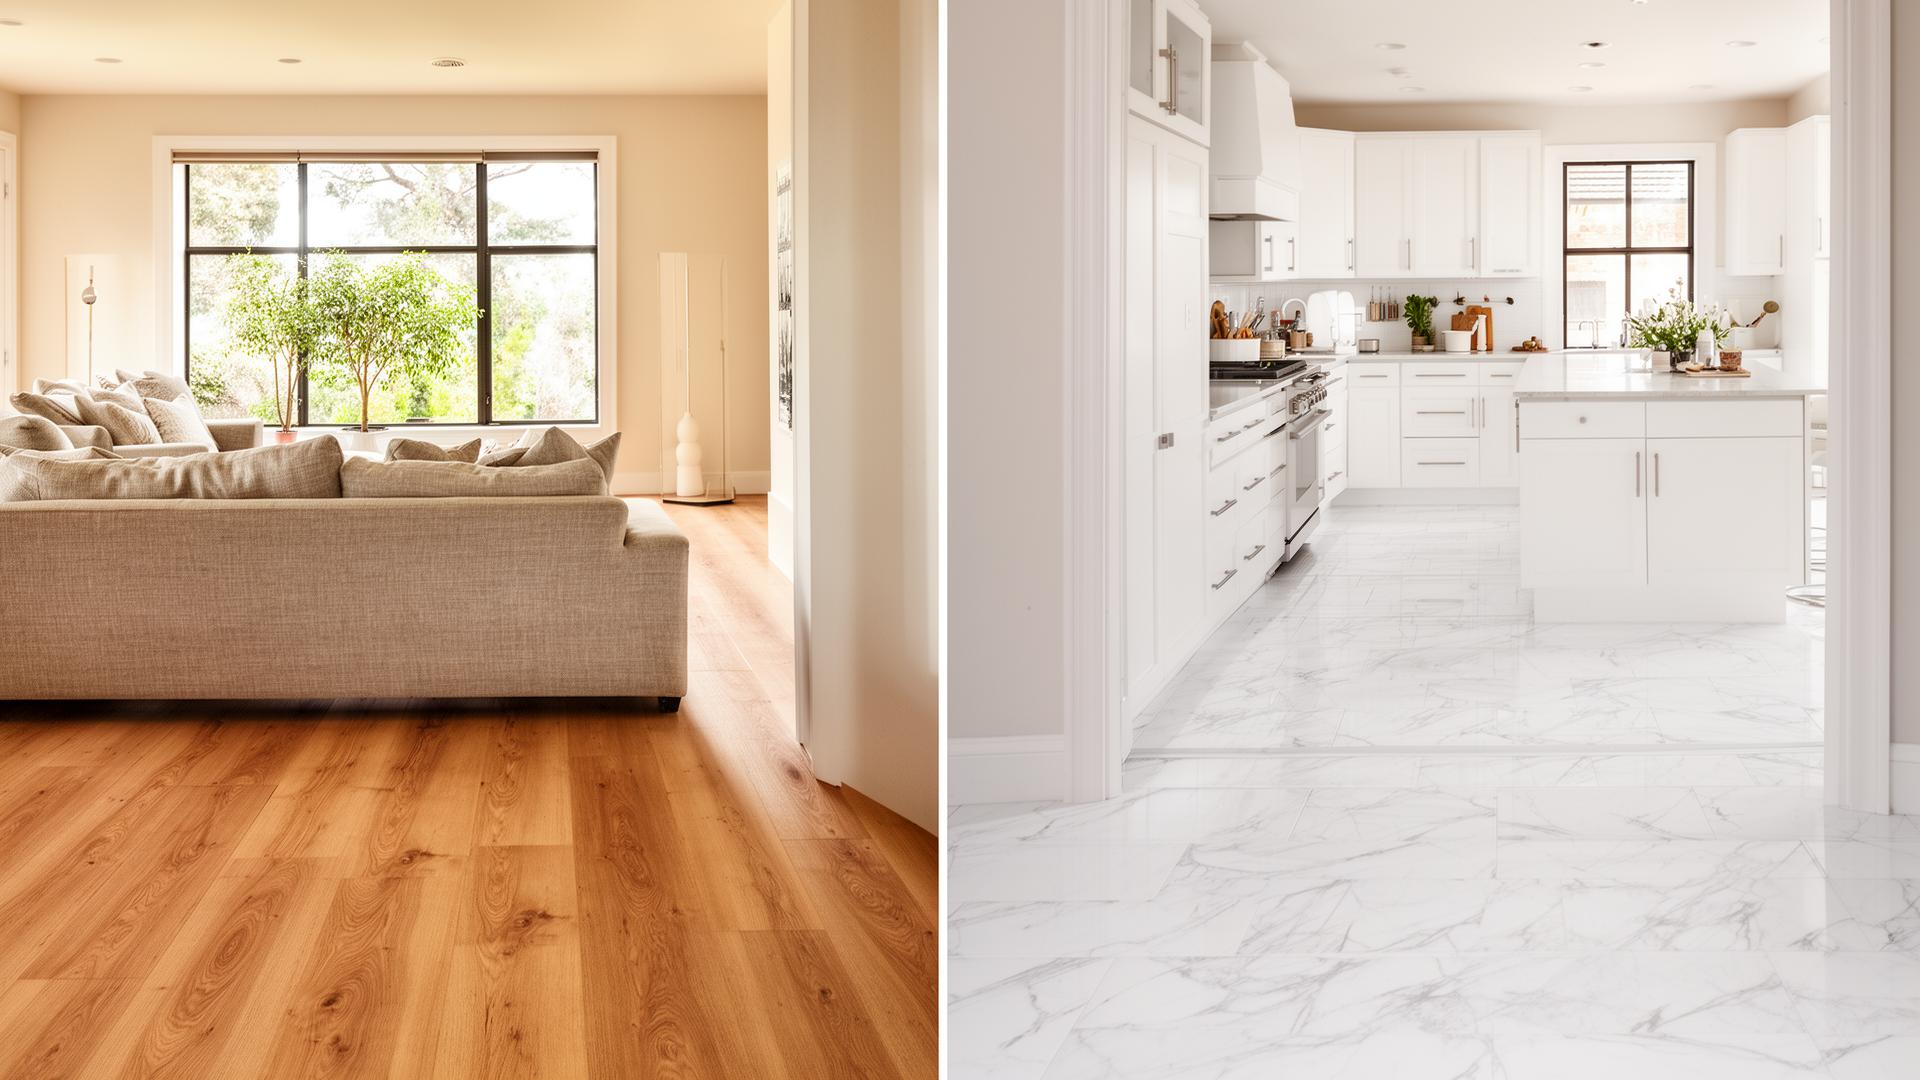
2. SPC vs WPC vs flexible LVP — pick the right core for your home
- SPC (Stone Plastic Composite): Rigid, harder, more dimensionally stable. Best over uneven subfloors and in temperature-swing rooms (kitchens, basements, sunrooms).
- WPC (Wood Plastic Composite): Slightly softer, warmer underfoot, more comfortable in bedrooms and living rooms.
- Flexible (glue-down LVP): Commercial-grade. Requires a perfect subfloor. Rarely the right choice for a typical residential install.
For most Southern California homes, SPC click-lock is the right default.

3. Your subfloor matters more than the plank you buy
A flawless plank over a wavy subfloor still fails. The industry-standard tolerance is 3/16" over a 10-foot span. If your subfloor is outside that, fix it before installation — not after. We walk through the whole prep process in how to prepare your subfloor before LVP installation.
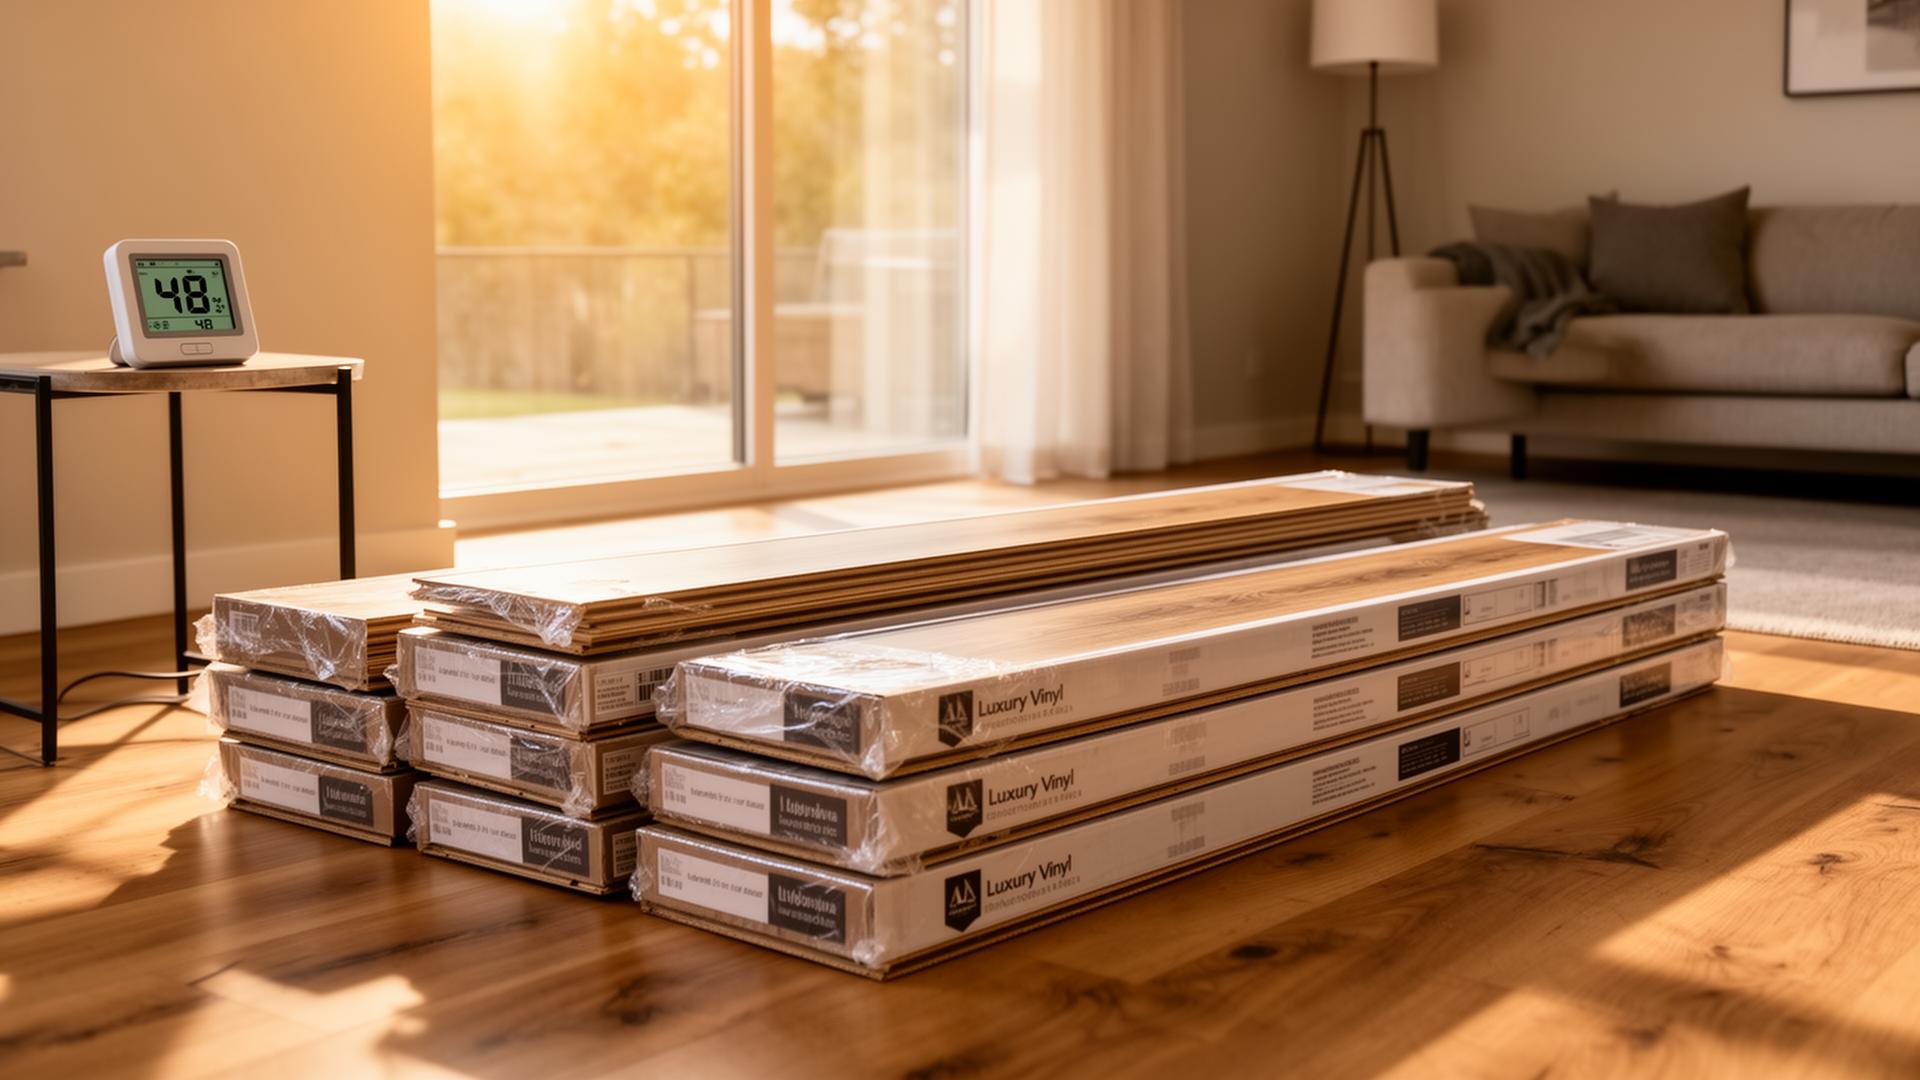
4. LVP needs to acclimate for at least 48 hours
Bring the boxes into the room where they will be installed at least 48 hours before install day, at the temperature and humidity the room normally lives at. Skipping this is the #1 cause of gapping or buckling in the first season — and it voids most manufacturer warranties.
5. Expansion gaps are not optional
Leave 1/4" to 3/8" of empty space against every wall, cabinet kick, door jamb, fireplace hearth, and floor vent. Baseboards and quarter round cover the gap. Without it, the floor has nowhere to go when temperatures rise — and it buckles upward at the weakest joint.

6. Transitions and trim cost more than people expect
T-moldings between rooms, reducers to lower flooring, stair noses, quarter round, and threshold transitions add up fast — typically 5–10% of your material budget. Walk every doorway and transition before you order, and list every piece on the quote. Surprise trim runs become surprise change orders.
7. Warranty fine print kills more claims than defects do
Read the warranty before you buy. Most LVP warranties require:
- Professional installation OR documented DIY following manufacturer specs
- Subfloor flatness verification (some require a written prep log)
- Acclimation documentation
- Registered ownership within 30 days
- Approved cleaning products only
If you DIY without keeping records, expect the manufacturer to deny the claim when a problem appears in year three.
8. Buy 10% extra for waste — 15% for diagonal or herringbone
Cuts, mistakes, and future repairs all need material from the same dye lot. Once the lot is gone, color and texture matches are never exact. Store the extra boxes flat in a dry, climate-controlled space (not the garage).
9. Total installed cost is roughly 2× the material price
The shelf price is the smallest line on the final bill. A realistic installed budget includes material, removal of existing flooring, subfloor prep, installation labor, transitions, baseboards, and disposal. See real numbers in our LVP installation cost per square foot guide or run your exact numbers in our instant estimate calculator.
10. The installer matters as much as the product
A great installer with mid-range LVP will outperform a bad installer with premium LVP every time. Vet for license, insurance, flooring-specific portfolio, and itemized quoting. Details: what makes a good LVP flooring installer.
Bonus: 5 small decisions with big consequences
- Plank direction: Run planks parallel to the longest wall or perpendicular to the room's main light source. Both make the space feel larger.
- Starting row layout: Plan the cut so the last row is not a narrow sliver. Measure room width, divide by plank width, and offset the first row by half a plank if needed.
- Stairs: Stair noses come in two styles — flush and overlap. Pick before you order; mid-project changes mean re-ordering.
- Pets: 12 mil wear layer minimum. 20+ mil if you have a large dog. Keep nails trimmed regardless.
- Underfloor heating: Most LVP is rated up to 80–85°F at the floor surface. Check the spec sheet before pairing.
Your "before you buy" checklist
- Square footage measured, with 10–15% waste added
- Wear layer rating chosen (12 mil minimum for living areas, 20+ for pets/kids)
- Core type chosen (SPC for most homes)
- Subfloor type identified, condition assessed
- Moisture testing planned if subfloor is concrete
- Acclimation plan (48 hrs in the room)
- Expansion gap plan (1/4"–3/8" at every vertical surface)
- Transition list with every doorway and material change
- Warranty read and understood
- Installer chosen (or DIY commitment made with clear scope)
- Three itemized written quotes in hand — see why three quotes is the right number
DIY or pro? A quick decision matrix
| Project type | Recommendation |
|---|---|
| One small bedroom, flat plywood subfloor, click-lock SPC | DIY is reasonable |
| Hallway + closet, simple cuts | DIY is reasonable |
| Whole-floor install over concrete slab | Hire a pro (moisture + leveling) |
| Any install that includes stairs | Hire a pro (stair noses are hard) |
| Multiple rooms with transitions | Hire a pro |
| Removing tile, hardwood, or glued vinyl first | Hire a pro |
Full breakdown: Is LVP flooring easy to install yourself?
Still deciding what material to install at all?
If you are not 100% sure LVP is the right call for every room, compare construction and best-use rooms in Laminate vs LVP flooring. The honest answer for most homes is a mix.
The TRU Installation approach
We publish our labor rates, itemize every quote, and walk every customer through the 10 decisions above before they sign anything. If you want a transparent starting number, run your square footage through our instant estimate calculator. When you are ready for an in-person walk-through, book a professional measurement visit — we inspect, measure, and send a fully itemized SPC / LVP installation quote within 48 hours.
Know your flooring cost in 60 seconds.
Use our published rates to get an itemized estimate — no phone calls, no sales pressure.
Keep reading
All articles →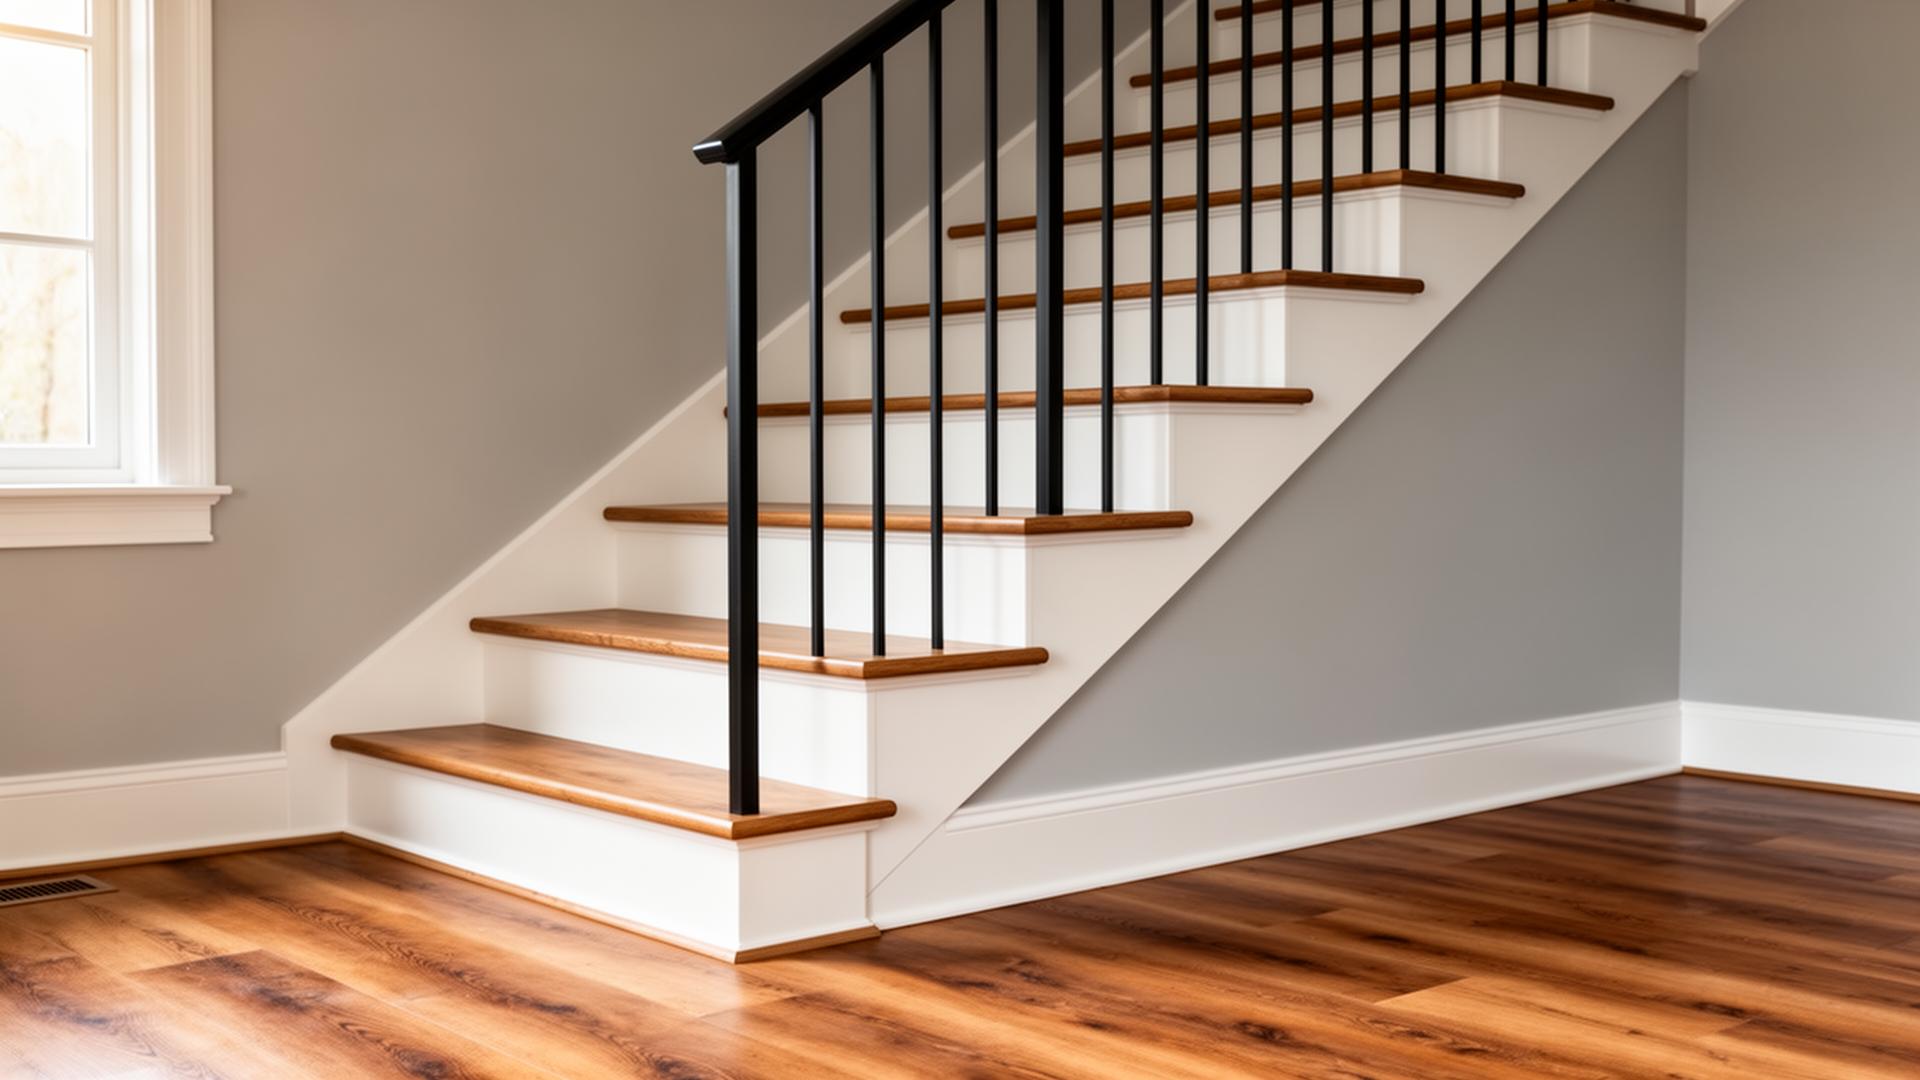
Can LVP Be Installed on Stairs?
Yes — LVP works on stairs, but it must be glued down, paired with matching stair-nose molding, and installed on a solid sub-tread. Here's what it really costs and what to watch out for.
How Do I Choose Between Wood-Look and Stone-Look LVP?
A homeowner's decision guide for picking wood-look vs stone-look LVP — which visual works best in each room, what affects resale, and how to mix the two cleanly.
Should I Acclimate LVP Before Installation?
Yes — but not for the reasons you think. Here's what manufacturers actually require, how long acclimation takes, and what really happens if you skip it.