What Makes a Good LVP Flooring Installer? 7 Traits to Verify
Not every contractor handles luxury vinyl plank the right way. Here are the 7 traits that separate a true LVP pro from a risky hire — plus red flags to walk away from.
A great LVP installer isn''t just someone who can lay a plank — they understand subfloor flatness, acclimation, expansion gaps, locking mechanisms, and finish carpentry. Hire the wrong person and a $6,000 floor turns into a $12,000 do-over.
Luxury vinyl plank looks forgiving on YouTube. In reality, the difference between a floor that lies flat for 20 years and one that gaps, peaks, or squeaks after six months almost always comes down to who installed it. Below are the seven traits we look for when we evaluate other installers — and what every Los Angeles or Ventura County homeowner should verify before signing a contract.
Why LVP demands a specialist (not "any handyman")
LVP is not tile and not laminate. It is a floating, click-locked, dimensionally active product. That means a contractor whose background is hardwood nailing or tile setting may know carpentry — but not the specific failure modes of vinyl plank. Floating floors live or die on subfloor prep and expansion. Skip either step and the floor will tell on the installer within a season.
The 7 traits of a good LVP installer
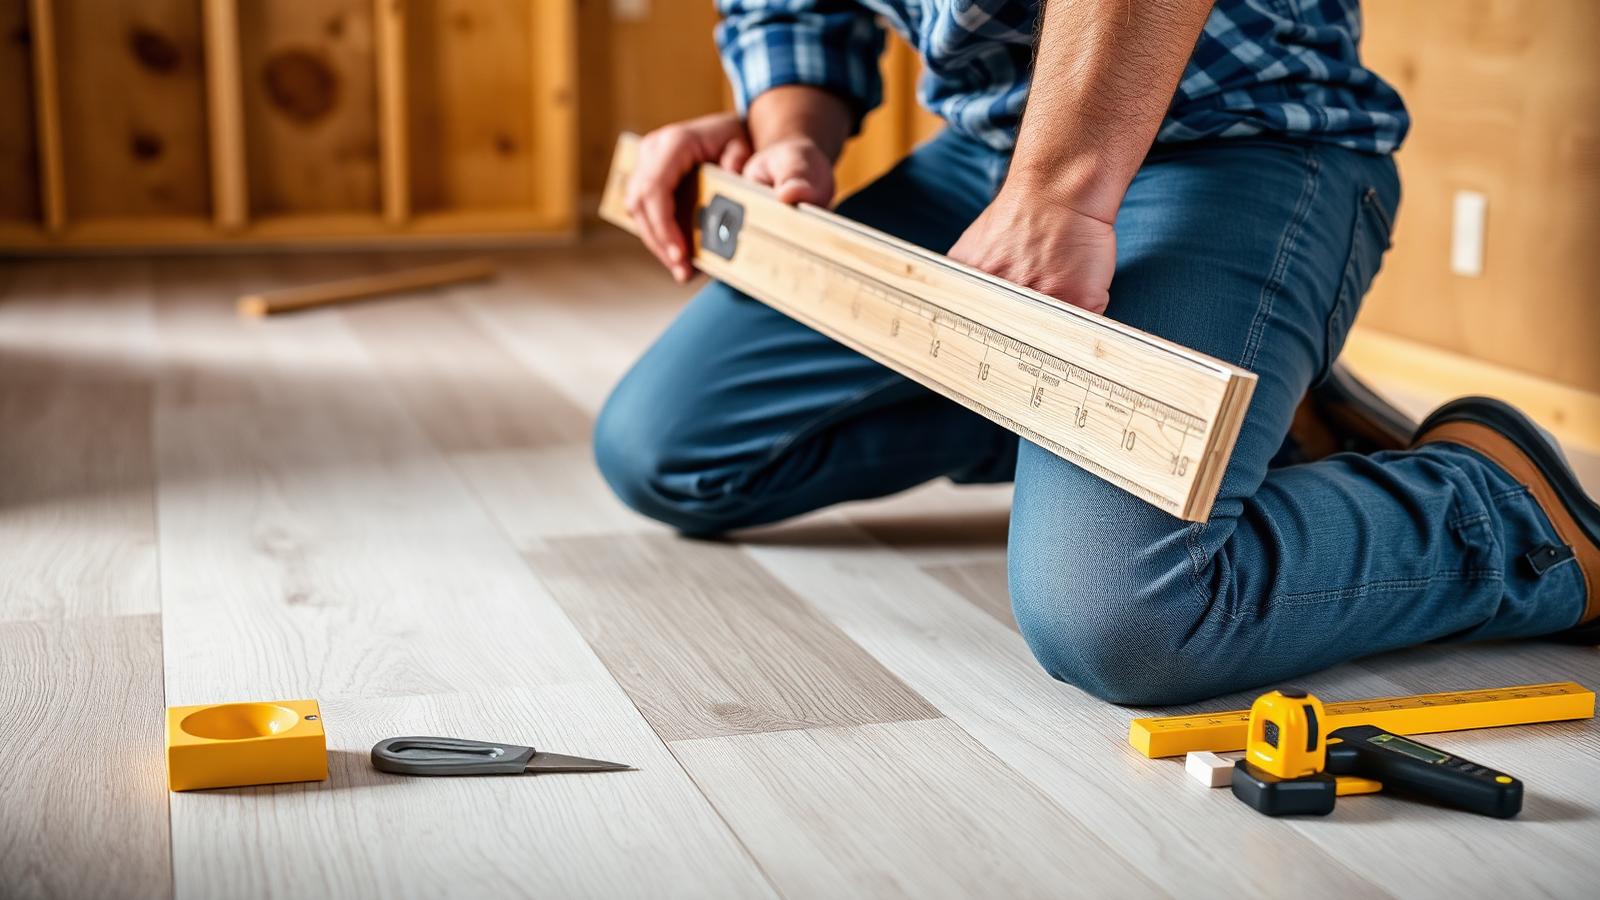
1. Subfloor flatness expertise
Every major LVP manufacturer specifies the same tolerance: the subfloor must be flat within 3/16" over a 10-foot span. A good installer carries a 10-foot straightedge or laser level and actually uses it — grinding high spots in concrete, filling low spots with leveling compound, and re-checking before a single plank goes down. If your installer plans to lay LVP without measuring the subfloor first, that's the conversation-ender.

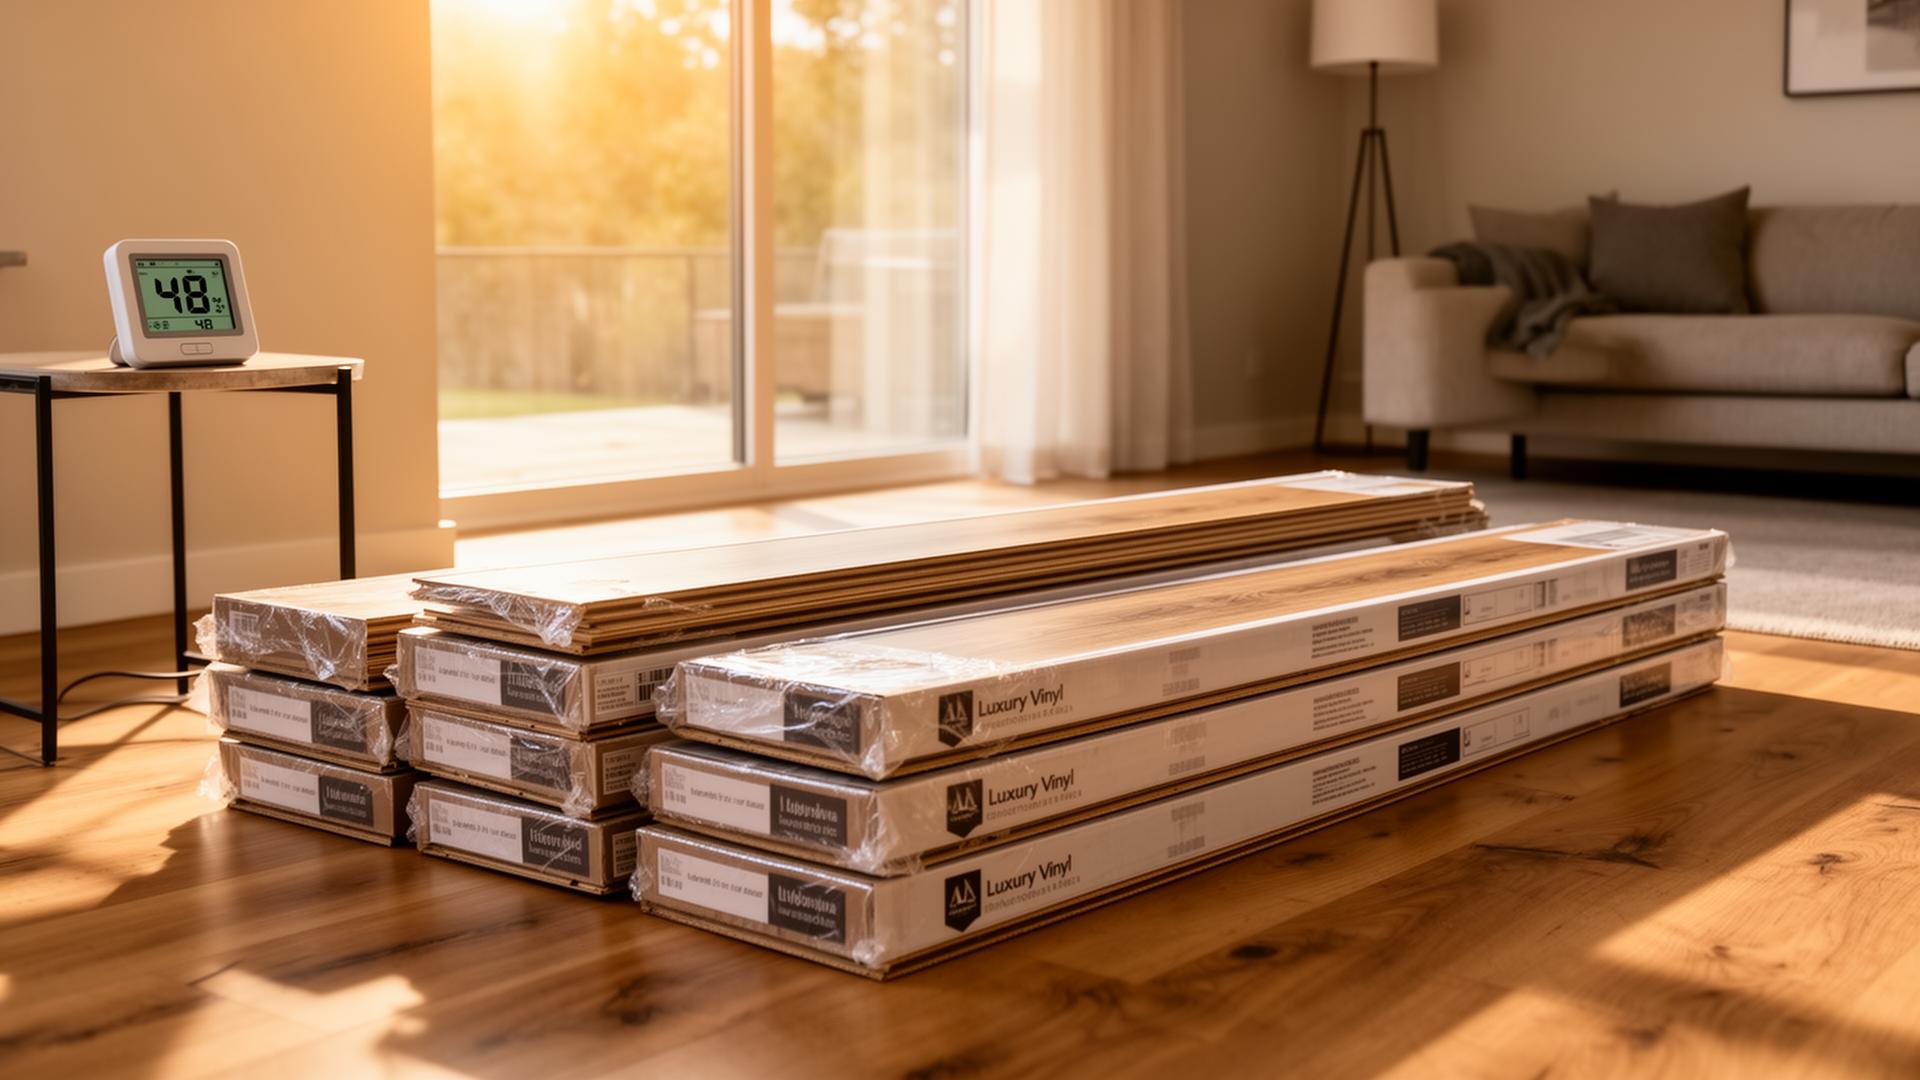
2. Acclimation discipline
Quality installers deliver planks to the home at least 48 hours before installation and let them sit in the conditioned space. They also confirm the home''s HVAC is running and the room is between 65°F and 85°F. Cutting corners here is how you get joint gaps three weeks after install.
3. Expansion-gap discipline
LVP expands and contracts with temperature. A real pro leaves a 1/4" to 3/8" expansion gap at every wall, doorway, cabinet toe-kick, and fixed object — using spacers consistently around the entire perimeter. They also plan the layout so end joints stagger properly and gaps don''t bunch up against high-traffic transitions.
4. Locking-system finesse
Modern LVP uses either angle-lock or drop-lock joints. A great installer knows the difference, uses a tapping block (not a hammer directly on the plank), and never forces a joint. Forced joints crack the locking edge — invisible at install, but the floor separates within months. Watch how they engage the first three rows; that sets the tone for the entire job.
5. Transition and detail carpentry
This is where amateur work shows. Door jambs should be undercut with a flush-cut saw so plank slides cleanly underneath — not awkwardly L-cut around the casing. Transitions between rooms should sit flush with no rocking. Stair nosing should be glued and mechanically fastened, not just "glued and prayed." Quarter-round or shoe molding should cover the expansion gap with a clean caulked line.
6. Product-specific knowledge
Ask: "Have you installed this exact brand and thickness before?" A good installer will know whether your product has an attached pad (if so, no separate underlayment — doubling up voids the warranty), whether it''s rated for radiant heat, and whether it can run wall-to-wall through a 40-foot living space or needs a T-molding break. If they shrug, keep interviewing.

7. Transparent pricing and a written scope
A good LVP installer hands you an itemized quote: labor per square foot, removal of existing flooring, subfloor prep, baseboards, stairs, and transitions all listed separately. They explain what happens if subfloor issues are discovered mid-install (and what those repairs typically cost). They put it in writing. This is exactly why TRU Installation publishes our rates — homeowners shouldn''t have to chase three contractors just to figure out what a job should cost.
Red flags — walk away if you see these
- Cash only, no written contract. No paper trail = no warranty enforcement.
- "I can start tomorrow" with no portfolio of past LVP work. Good installers are booked out 1–3 weeks.
- No proof of general liability insurance. Ask for the certificate. A real contractor will email it the same day.
- Vague one-line quotes like "$3/sqft installed." That number hides removal, prep, and trim — and ends in change orders.
- Unwillingness to explain the subfloor prep process. If they get defensive, they''re planning to skip it.
- Pressure to buy material from them at marked-up prices with no breakdown.
The cost of a bad install vs. a good one (1,000 sq ft)
| Outcome | Good install | Bad install |
|---|---|---|
| Labor cost | $3,500–$5,000 | $2,000–$3,000 (looks cheaper) |
| Subfloor prep included | Yes | Often skipped |
| Warranty on labor | 1–2 years written | None / verbal |
| Manufacturer warranty status | Intact | Frequently voided |
| Re-install within 2 years | Rare | 30%+ likely |
| Total 2-year cost | ~$4,500 | $8,000–$12,000 |
The "cheap" installer is almost never cheap. The labor savings are erased the first time a joint pops or a plank cups.
How to verify an installer before you hire
- Ask for LVP-specific photos. Not "flooring" — luxury vinyl plank, specifically. Different product, different skill set.
- Read reviews that mention LVP or vinyl plank by name. Generic 5-star reviews don''t prove they can do your job.
- Request a written labor warranty of at least 1 year. Good installers stand behind their work.
- Confirm general liability insurance in writing before work begins.
- Get the quote itemized — labor, prep, removal, baseboards, stairs, transitions — each on its own line.
Related reading
- How much does LVP installation cost per square foot?
- Is LVP flooring easy to install yourself?
- Local flooring store vs. big box: where should I buy LVP?
- Our SPC & vinyl plank installation service
Hire transparently. Pay once.
TRU Installation publishes our rates, itemizes every quote, carries full liability insurance, and warranties our labor. Use our instant estimate calculator to see what your project should cost — or book a professional measurement and we''ll handle the rest.
Know your flooring cost in 60 seconds.
Use our published rates to get an itemized estimate — no phone calls, no sales pressure.
Keep reading
All articles →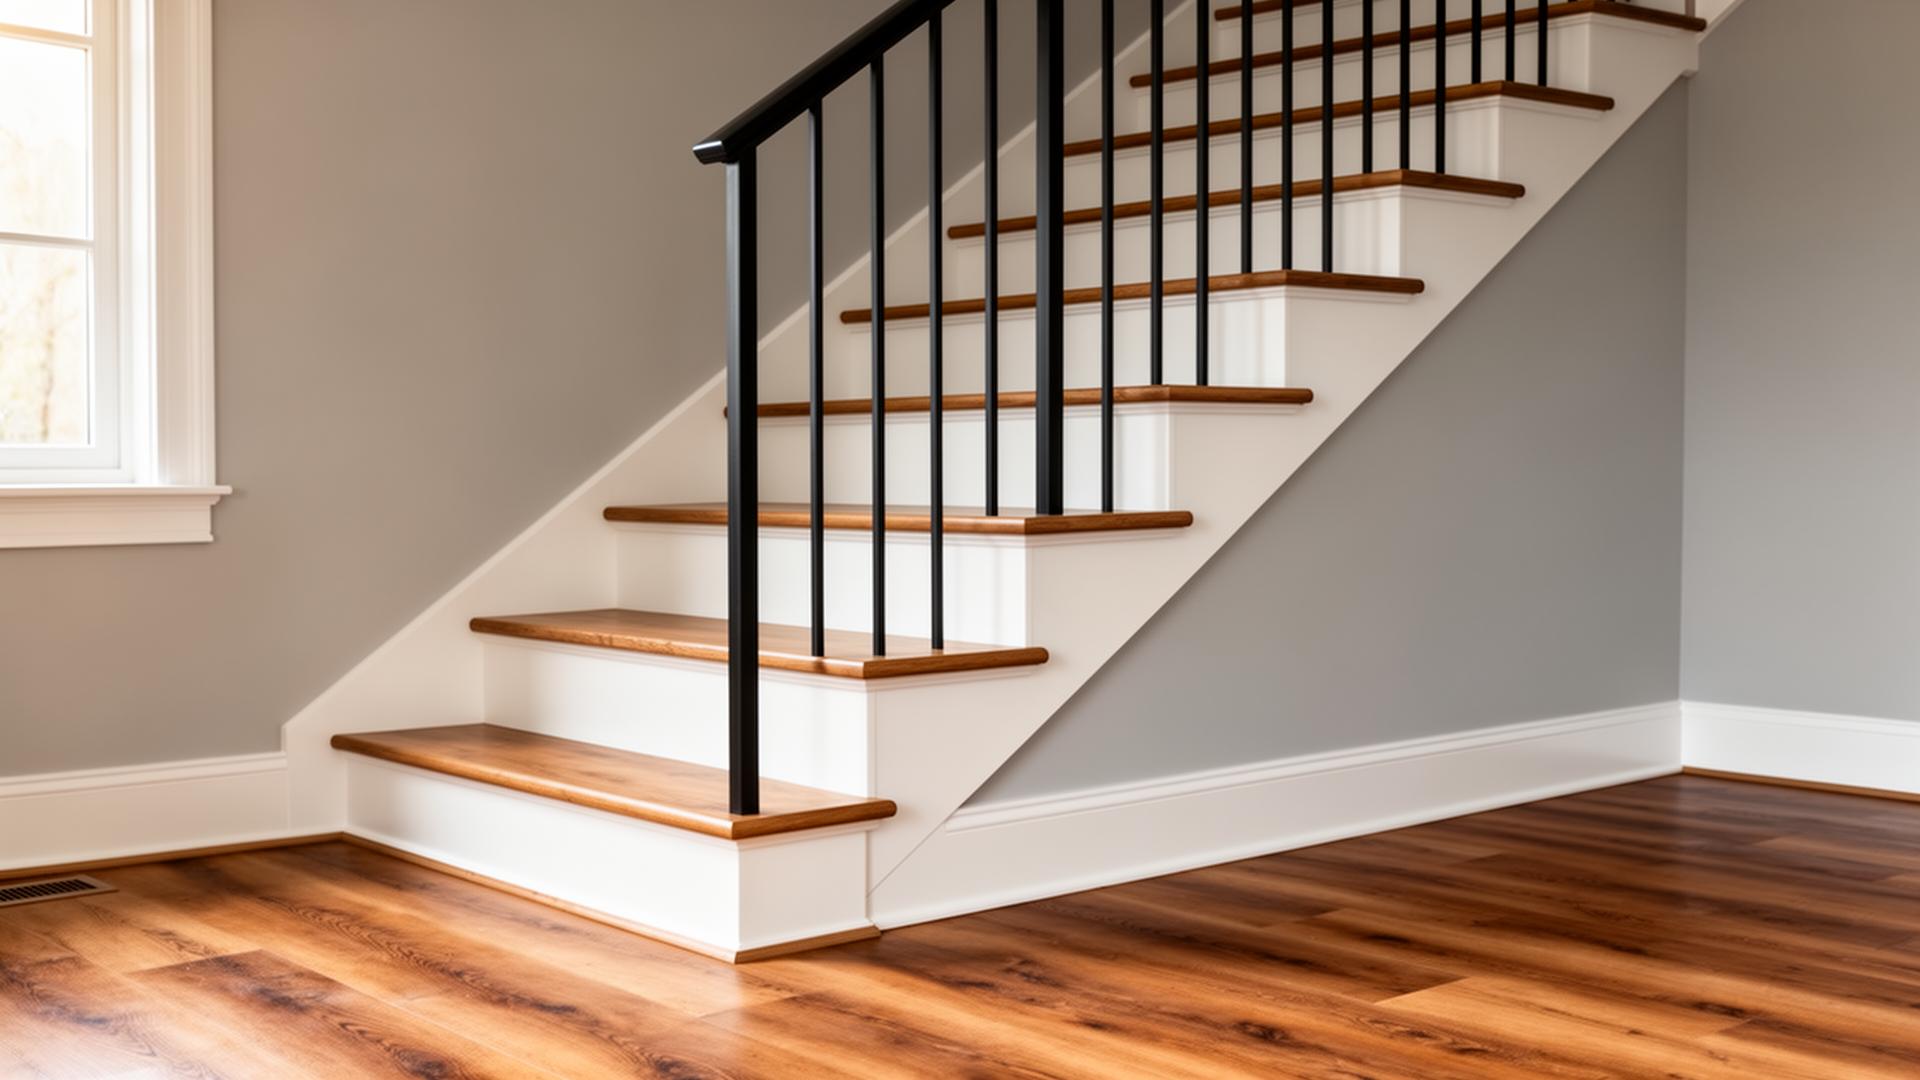
Can LVP Be Installed on Stairs?
Yes — LVP works on stairs, but it must be glued down, paired with matching stair-nose molding, and installed on a solid sub-tread. Here's what it really costs and what to watch out for.
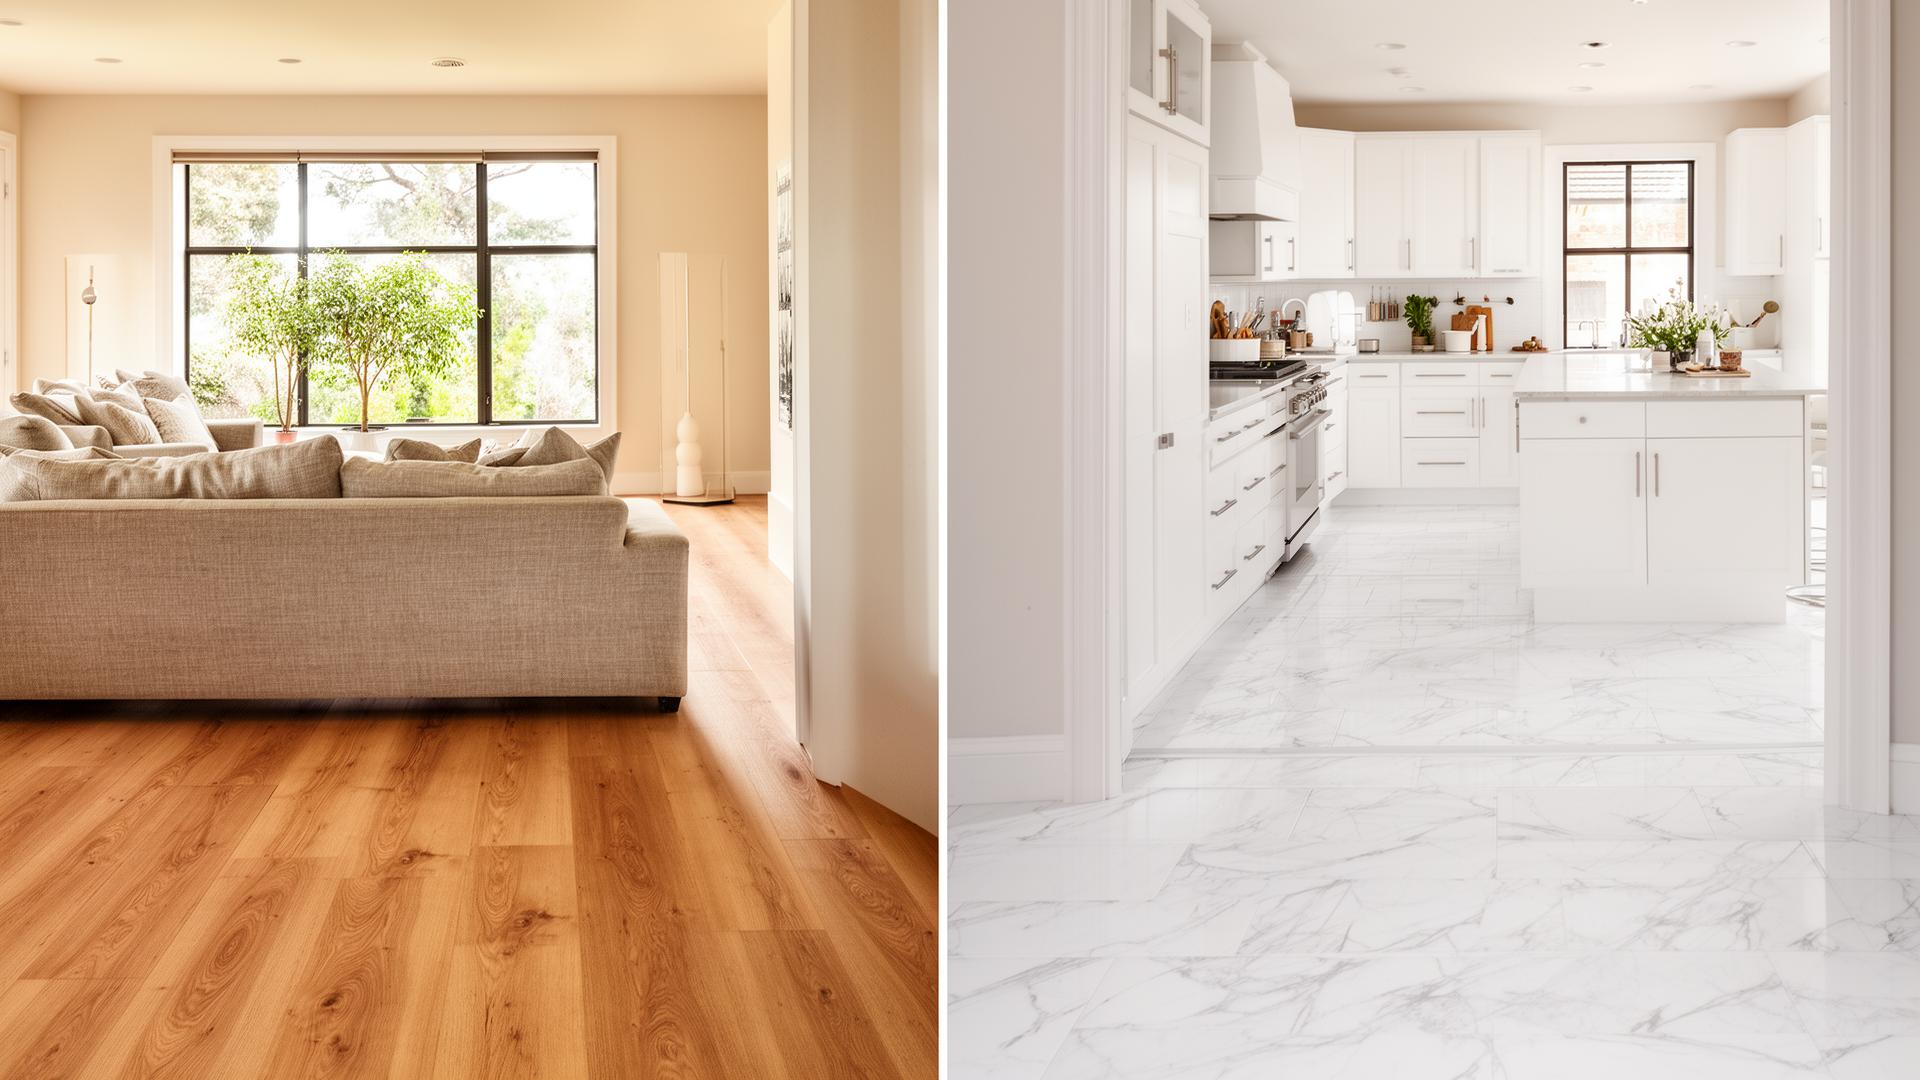
How Do I Choose Between Wood-Look and Stone-Look LVP?
A homeowner's decision guide for picking wood-look vs stone-look LVP — which visual works best in each room, what affects resale, and how to mix the two cleanly.
Should I Acclimate LVP Before Installation?
Yes — but not for the reasons you think. Here's what manufacturers actually require, how long acclimation takes, and what really happens if you skip it.